This article covers the setup of Smart Safes, an R365 Integration.
R365 supports Smart Safe integrations. The Smart Safes feature is an Integration that will allow restaurants to keep their cash within a Smart Safe thus ensuring that cash is managed properly. Cash is made safe by implementing the following:
Smart Safes are managed by the Smart Safe company and not the restaurant.
Once money goes into the Smart Safe, the restaurant cannot remove it, only the Smart Safe company can
Users can create deposit entries online for the Smart Safe to expect to receive the money
As of March 2025, R365 can integrate with the following smart safe companies:
Loomis
Smart Safes
Smart Safes allow for more accurate tracking and handling of cash within a restaurant. Using the smart safe integration ensures that cash deposits are accurate, which helps restaurants avoid theft and double entry.
When a till is closed, the cash deposit can be prepared and submitted through the safe company. When preparing the deposit, users enter the quantity of each bill, which calculates the total deposit. This will log a total Expected Deposit Amount in the System. The physical cash can then be dropped into the restaurant's in-store deposit box to await pickup. Users can track deposit statuses and activity within Loomis or by using the Manual Repoll function to manually pull deposit Data from Loomis to R365. Credit for the cash is then dropped into the deposit box while the cash awaits pickup.
When the cash is dropped in the smart safe, the safe company (ex. Loomis) takes ownership of the cash. This means that the cash is now at the hands of the safe company and not the restaurant. The restaurant can no longer retrieve the cash, allowing it to remain within the safe. The safe company will then pick up the cash as necessary. Once the safe company processes the cash, any discrepancies will be adjusted to the restaurant.
All Cash Deposits and counts will be logged so that Restaurants can track all Cash management accordingly.
Smart Safe connections are user-specific. All users who intend to utilize the smart safe integration must follow the integration connection and setup.
Smart Safe Integration Connection Setup
Integration setup should occur once users have created and set up accounts with their smart safe company of choice.
Follow these steps to connect to a Smart Safe Integration:
Click steps to expand for additional information and images.
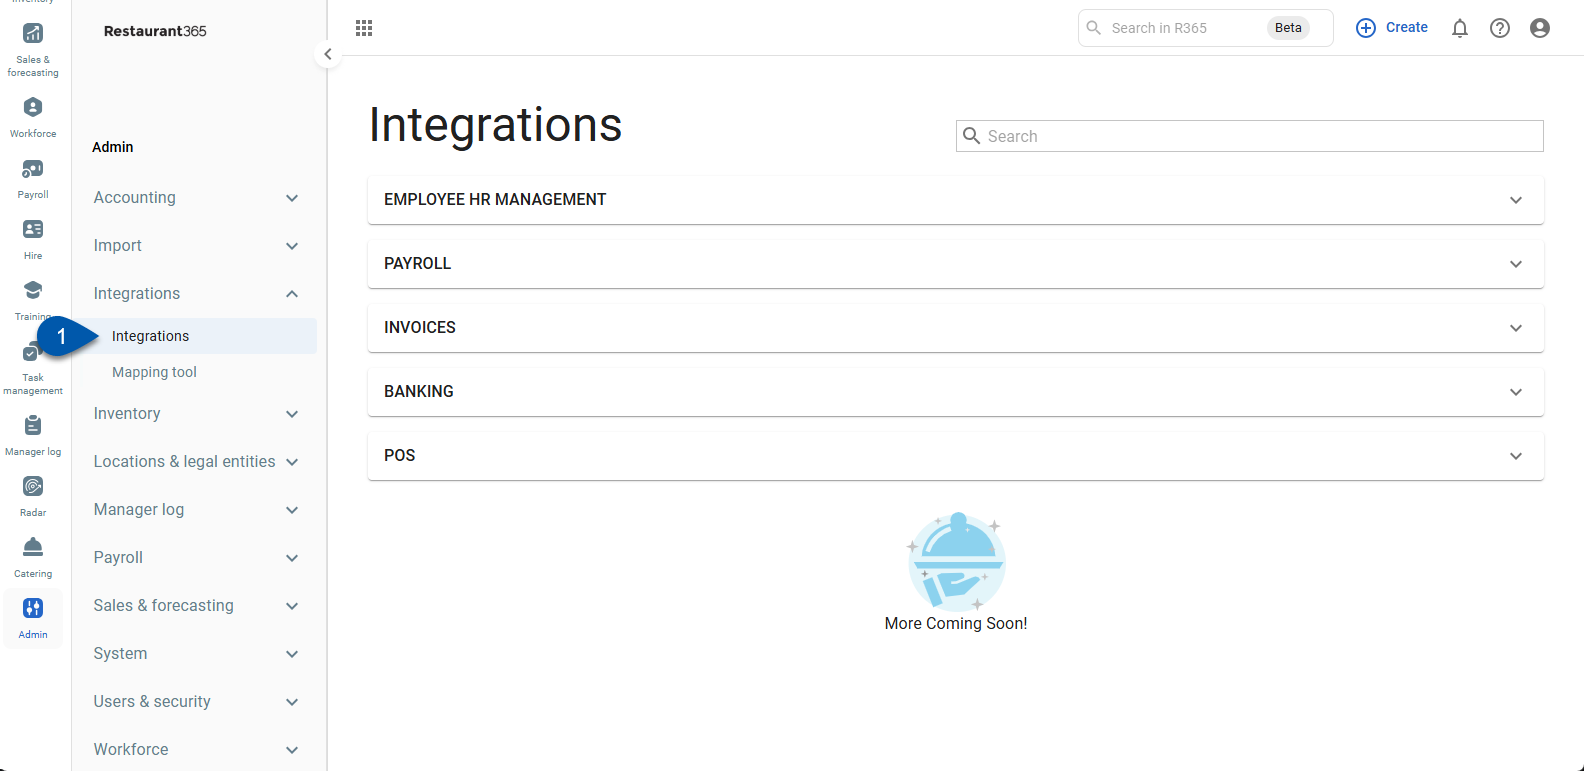
1) Navigate to the Integrations page.
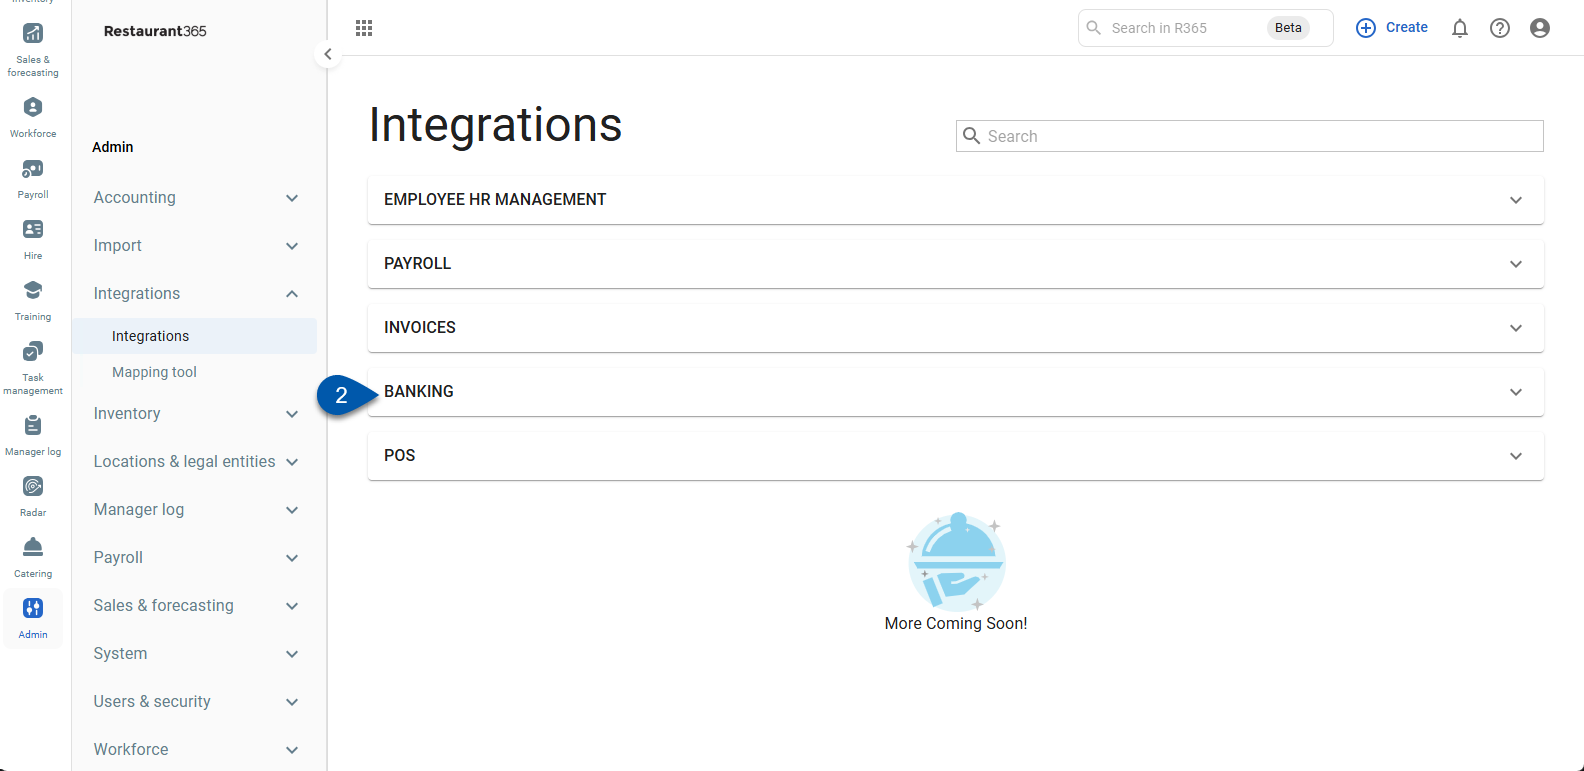
2) Expand the Banking category.
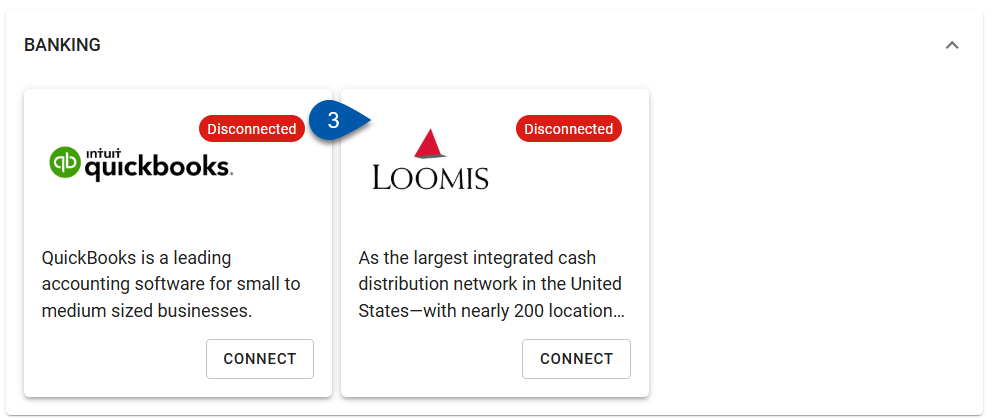
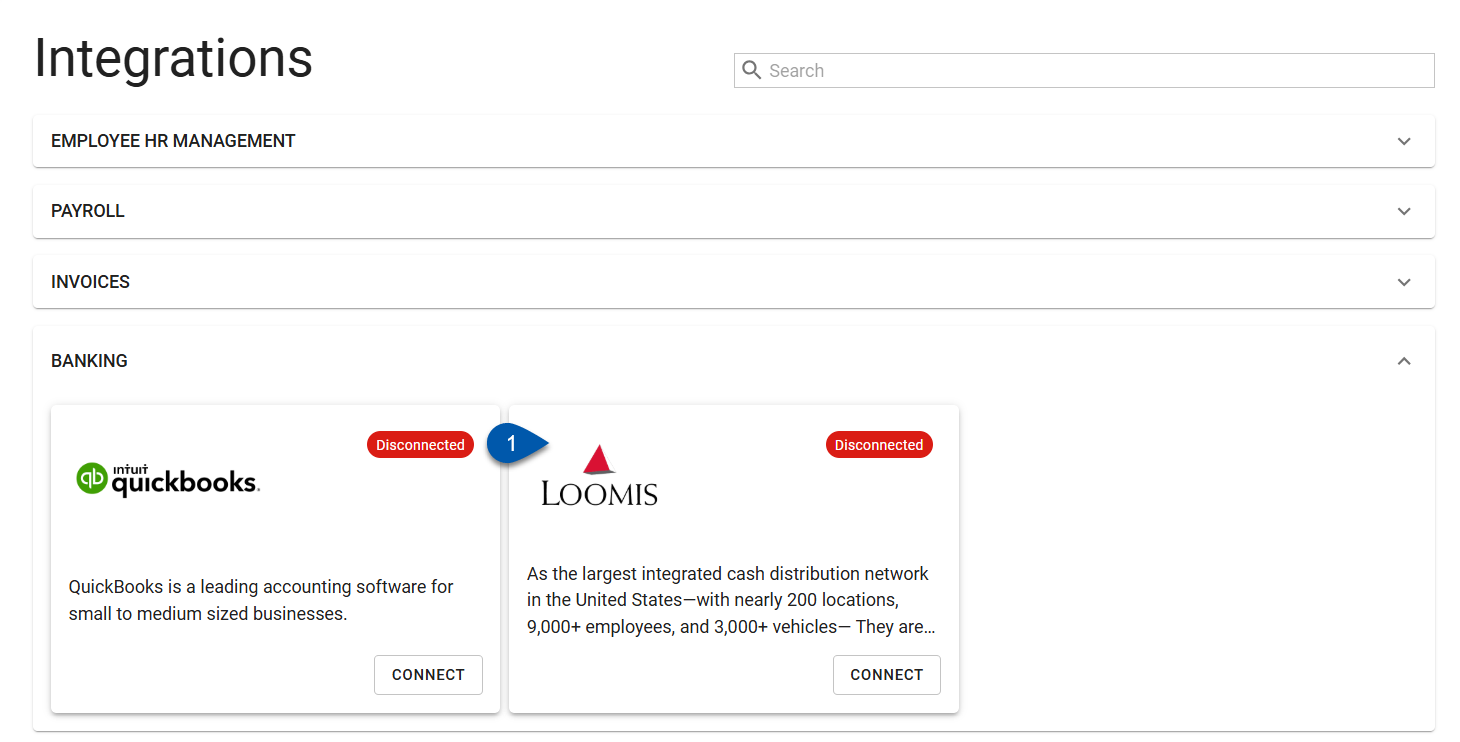
3) Click the Loomis card.
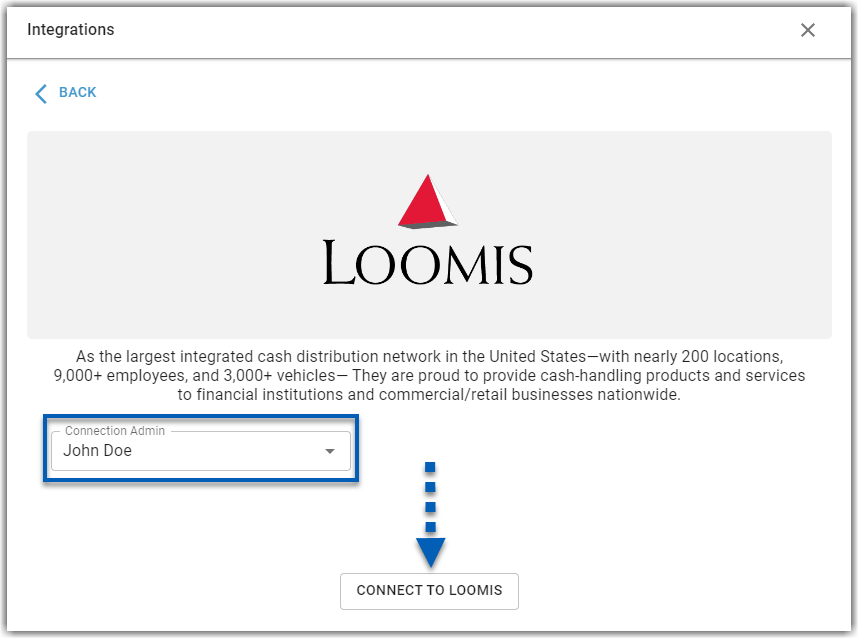
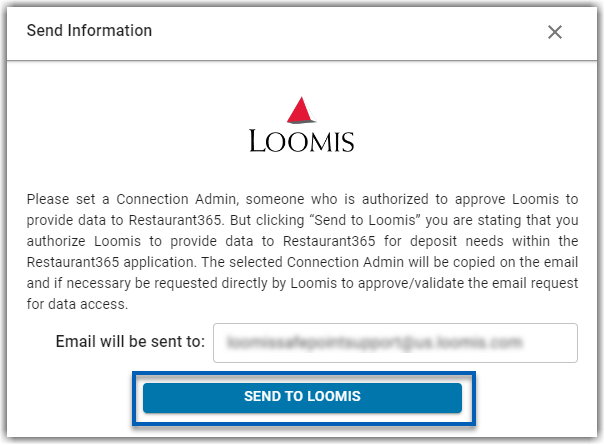
4) Users will be prompted to add a Connection Admin and click Connect to Loomis.
The connection admin should be an individual that is authorized to approve Loomis to provide data to R365.
5) Users will be prompted to confirm.
Click Send to Loomis to confirm.
After Connecting to the smart safe company, users can then link their safe(s) to the appropriate physical location(s). This will allow deposit information to be pulled directly from the safe service provider to R365.
Connecting Safes to Restaurant Location(s)
Once the smart safe company is connected to R365, users will be able to edit the connection.
To open connection settings to connect a safe to a restaurant location, follow the steps below:
1) On the Integrations page, under Banking, click the Loomis card.
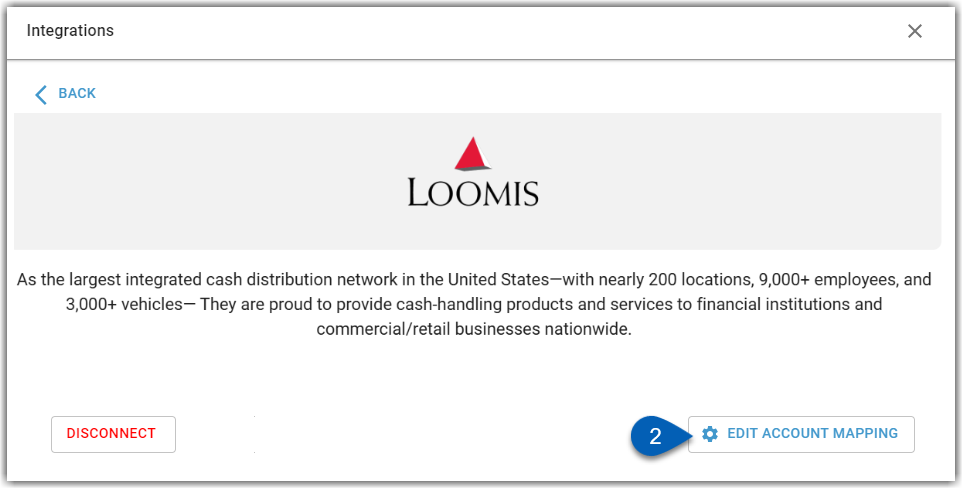
2) Click Edit Account Mapping.
This will open the location Connection Mapping sidesheet.
Loomis
From the Loomis Connection Mapping sidesheet, users can add locations and safes. To add a location, click +Add Item. This will open a new editable line item entry where users must include information for the following two fields:

Field | Description |
|---|---|
Location | The R365 restaurant location.
|
Serial Number | The serial number of the physical safe. |
Once the necessary information is input, click Save to save the location mapping.
Users can add, delete, or edit Locations at any time. To read more about editing, adding, and deleting location mapping, click here.
Submitting Deposits
Once the smart safe integration has been setup, users can proceed to submit deposits and begin using their smart safe. Read more about submitting deposits, here.