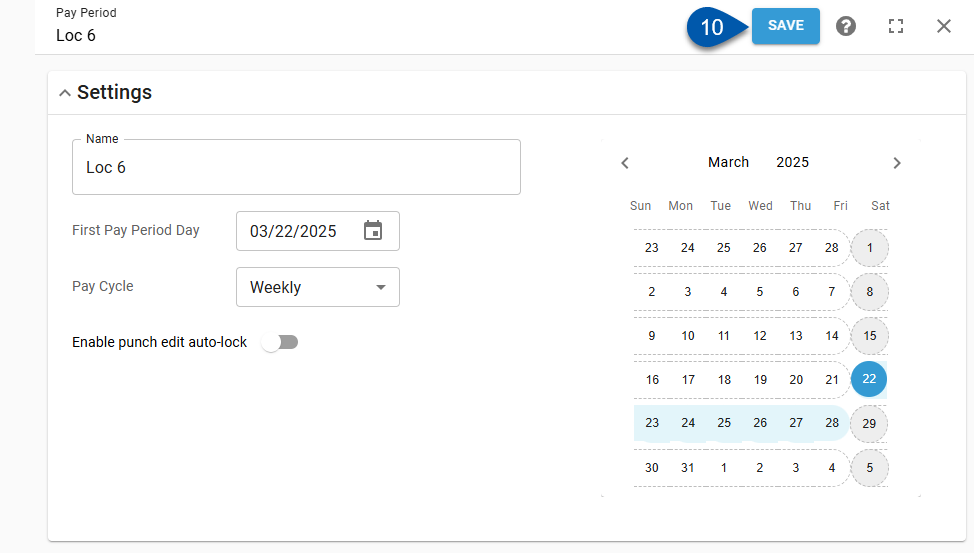
Pay period rules are created and edited on the Labor Rules page.
Configured pay periods are used for locking DSS punch edits and Time & Attendance.
Security
Users must have the following permission(s) to create or edit pay period rules:
Labor → Pay Periods → Create Pay Periods
Labor → Pay Periods → Edit Pay Periods
These permissions can be added to custom user roles or individual users. The Permission Access report can be used to determine which user roles or users already have these permissions assigned. For more information, see User Setup and Security.
Create a Pay Period Rule
Follow these steps to create a pay period rule:
Click steps to expand for additional information and images.
1) Navigate to the Labor Rules page.
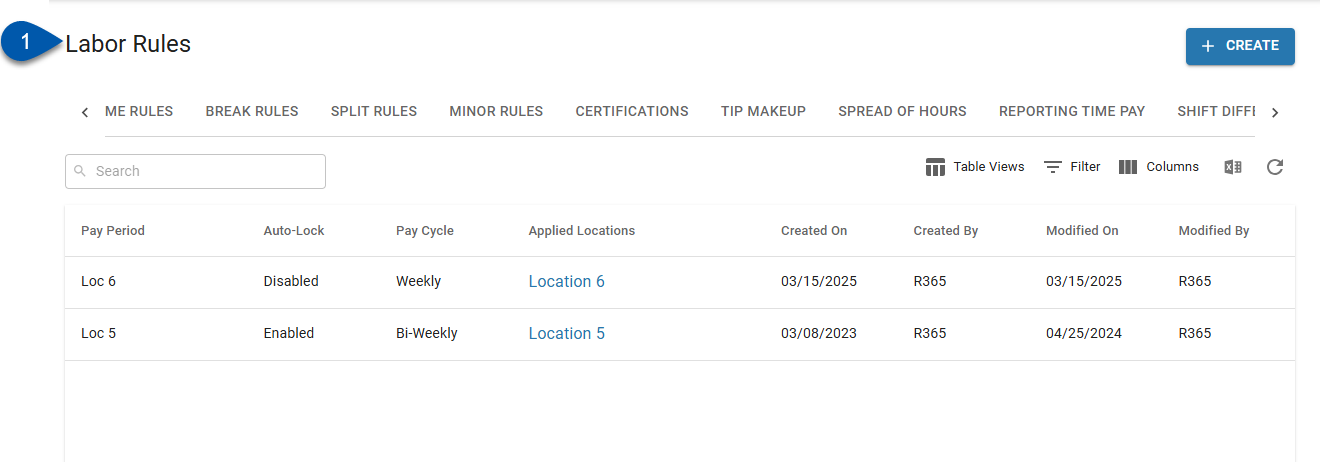
2) Click +Create on the Labor Rules page.
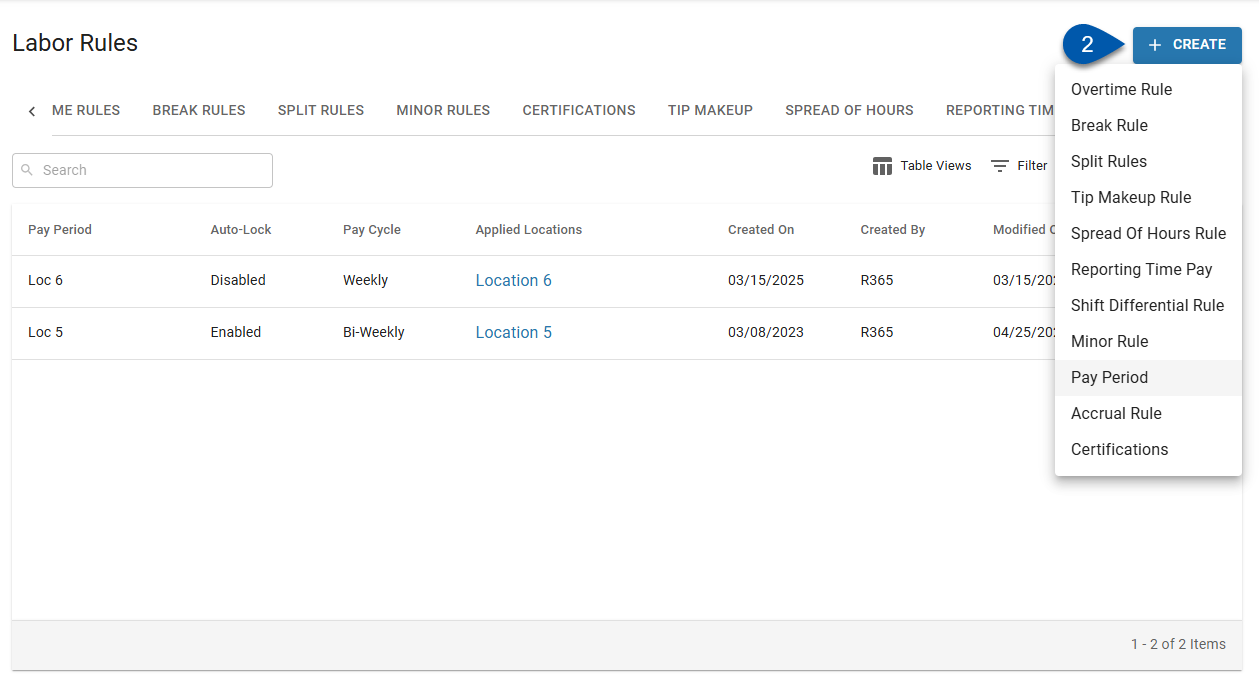
3) Select Pay Period.
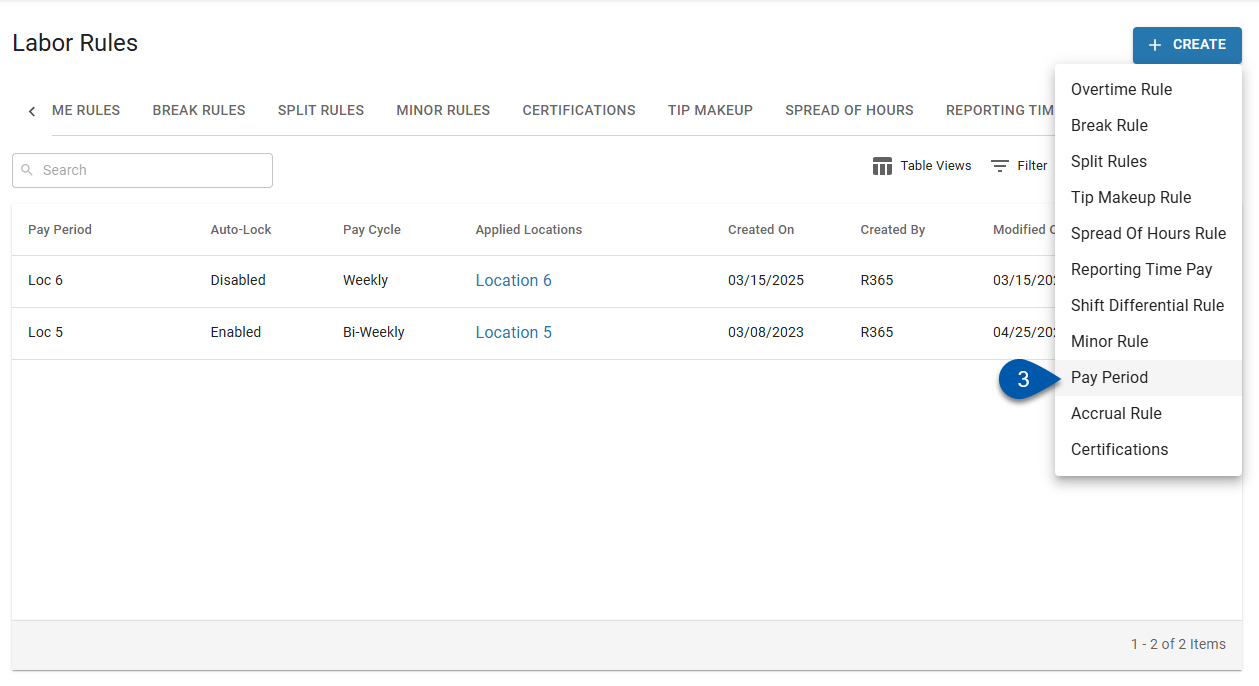
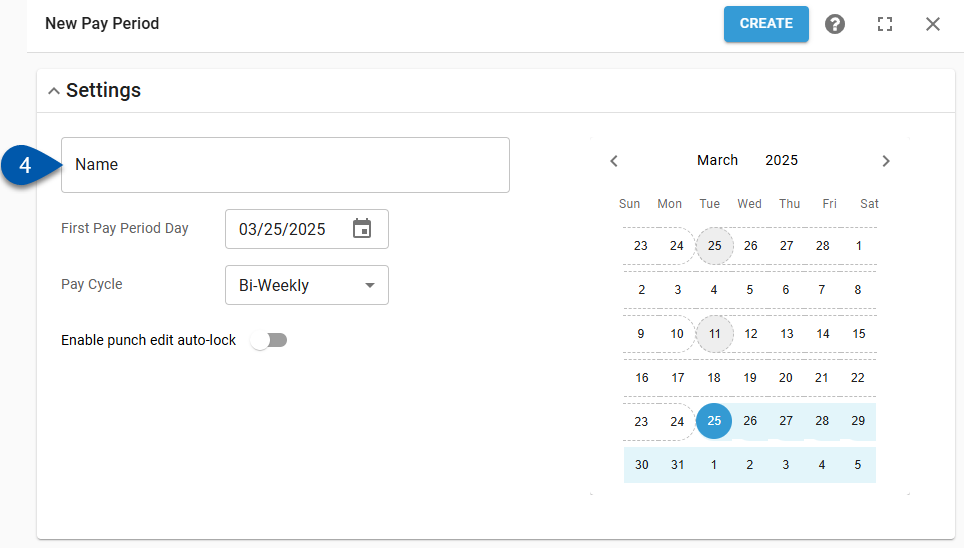
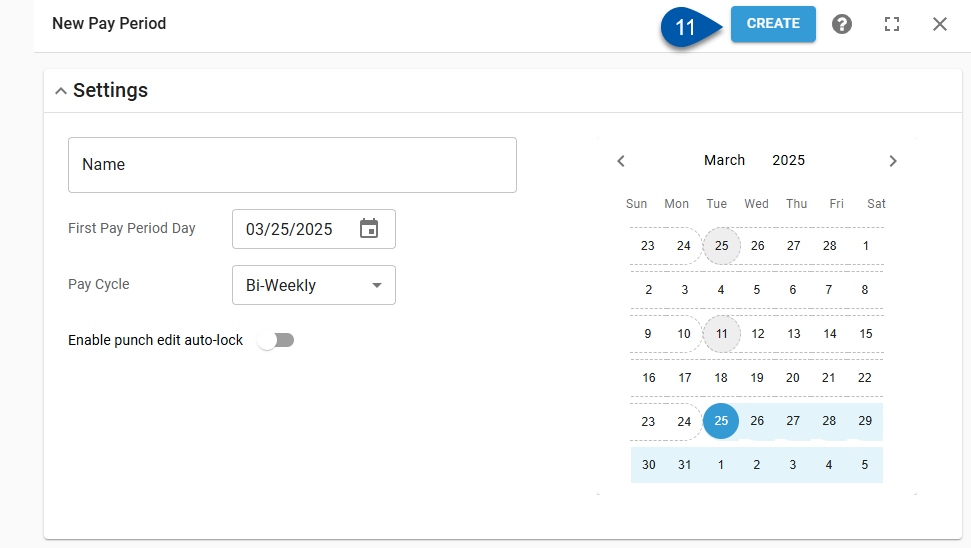
4) Name the pay period rule.
The rule name must be unique within pay period rules and does not need to be unique across other rule types.
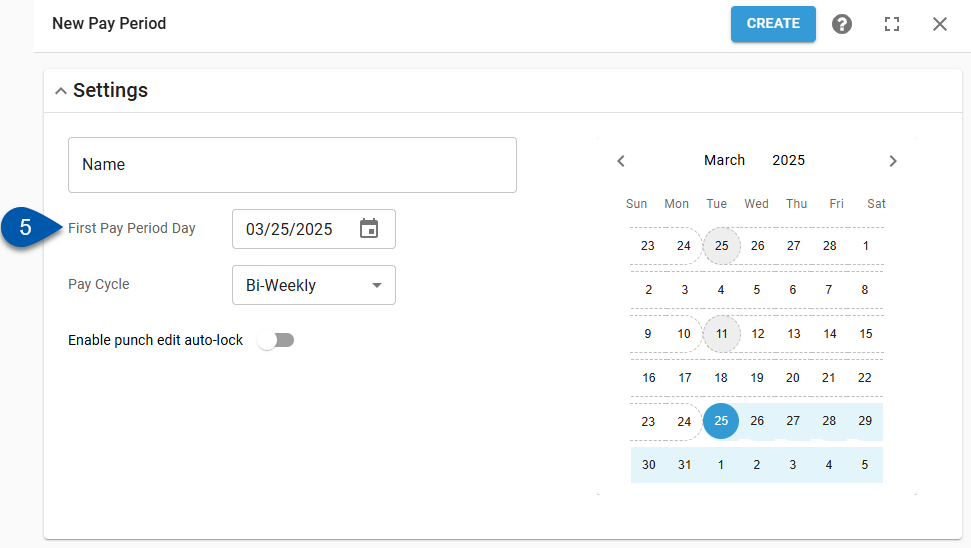
5) Set the first day of the first pay period for the rule.
The first day of the first pay period establishes the first pay period for assigned locations and defines the start date of future pay periods.
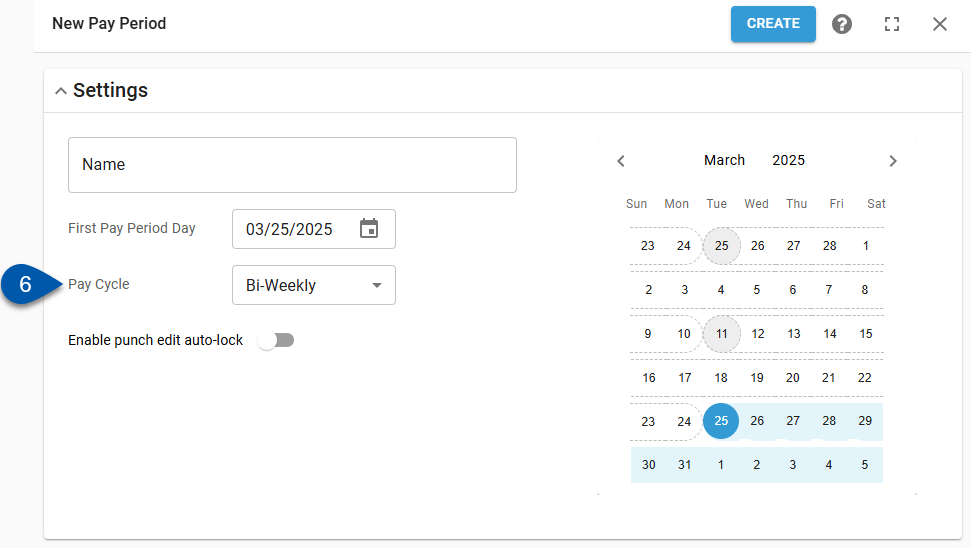
6) Select the pay cycle.
Weekly - Pay period is seven days long, starting on the same day of the week as the first pay period.
Bi-Weekly - Pay period is fourteen days long, starting on the same day of the week as the first pay period.
Semi-Monthly - Each month has two pay periods. The first pay period each month starts on the same day of the month as the first pay period (step 5). The second pay period starts on a selected day of the month (step 7).
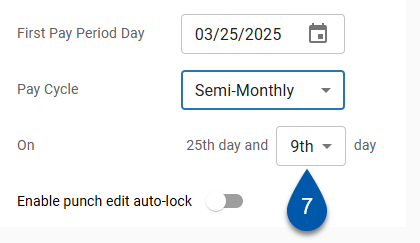
7) If Semi-Monthly is selected, define the start date of the second pay period.
The first pay period in the month will automatically start on the same day as defined in step 5.
8) If R365 Punch Edits is enabled and users should be prevented from editing punches in the DSS after the end of the pay period, enable punch edit lock.
Punch edit lock does not impact pay periods in Time & Attendance. In Time & Attendance, timecards are locked when the pay period is closed.
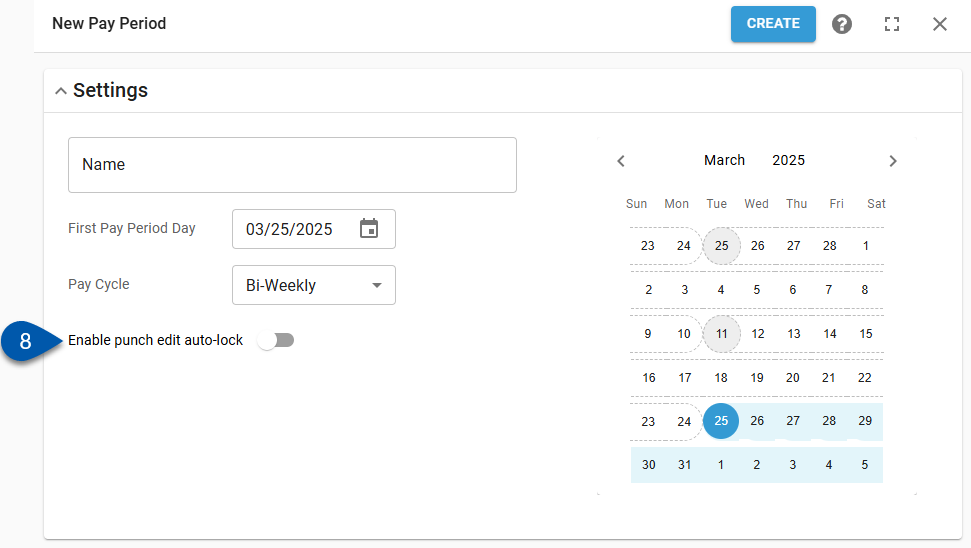
9) If punch edit lock is enabled, define how many days after the close of the pay period and the time of day that punches are locked.

10) Assign locations.
At least one location must be assigned before the rule can be saved.
All locations that utilize this rule will need to be selected from the Available Locations list and added to the Applied Locations list. 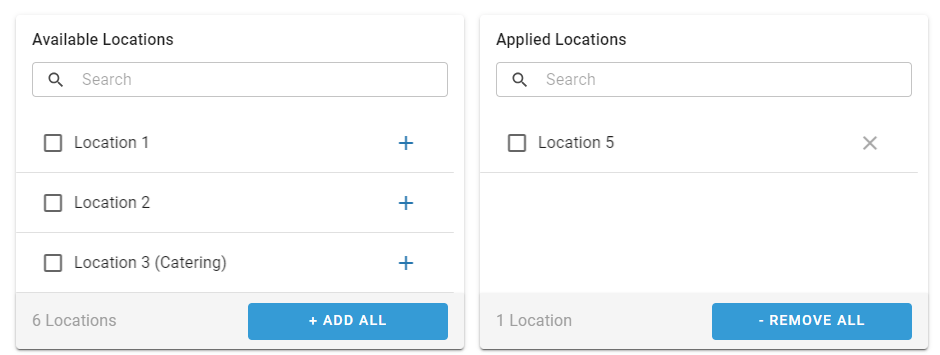
Locations can only be assigned to one rule group. Locations that have been assigned to another rule group will not be listed in either the Available Locations or Applied Locations lists.
Locations can be assigned in the following ways:
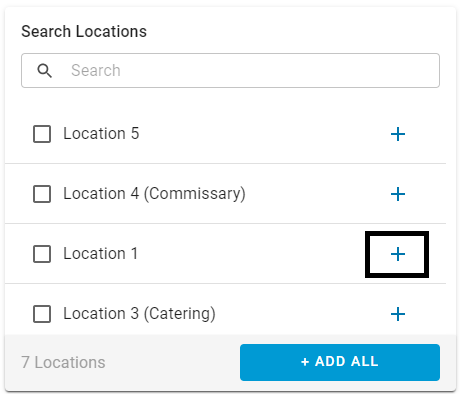
a) Click the plus button associated with the desired location.
b) Drag and drop the location into the Applied Locations list.
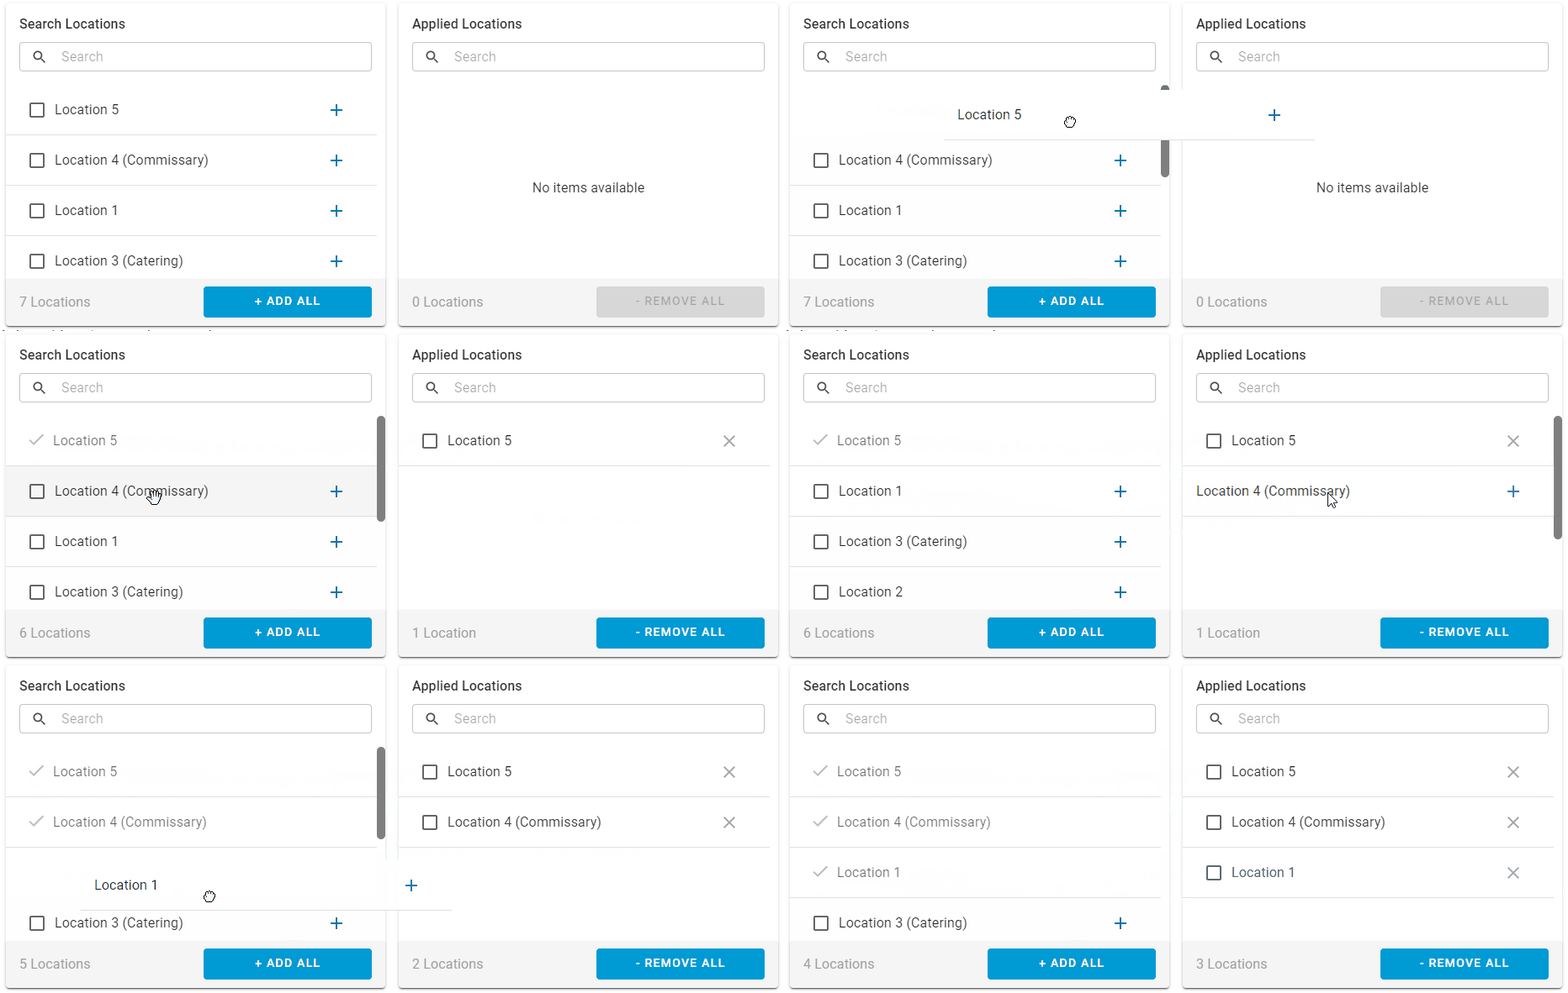
c) Check the checkbox associated with one or more locations, then click +Add Selected.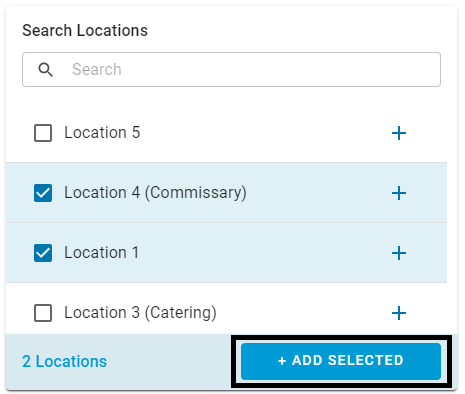
d) Click +Add All to assign all available locations. 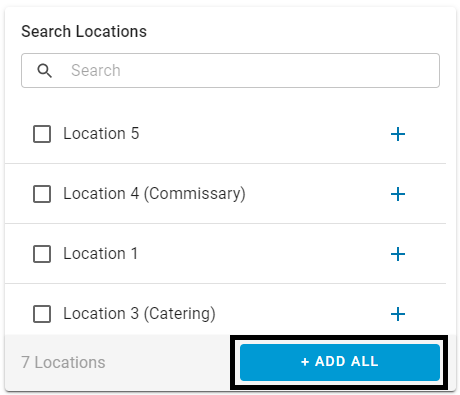
11) Click Create.
Edit a Pay Period Rule
Follow these steps to edit an existing pay period rule:
Click steps to expand for additional information and images.
1) Navigate to the Pay Period tab of the Labor Rules page.
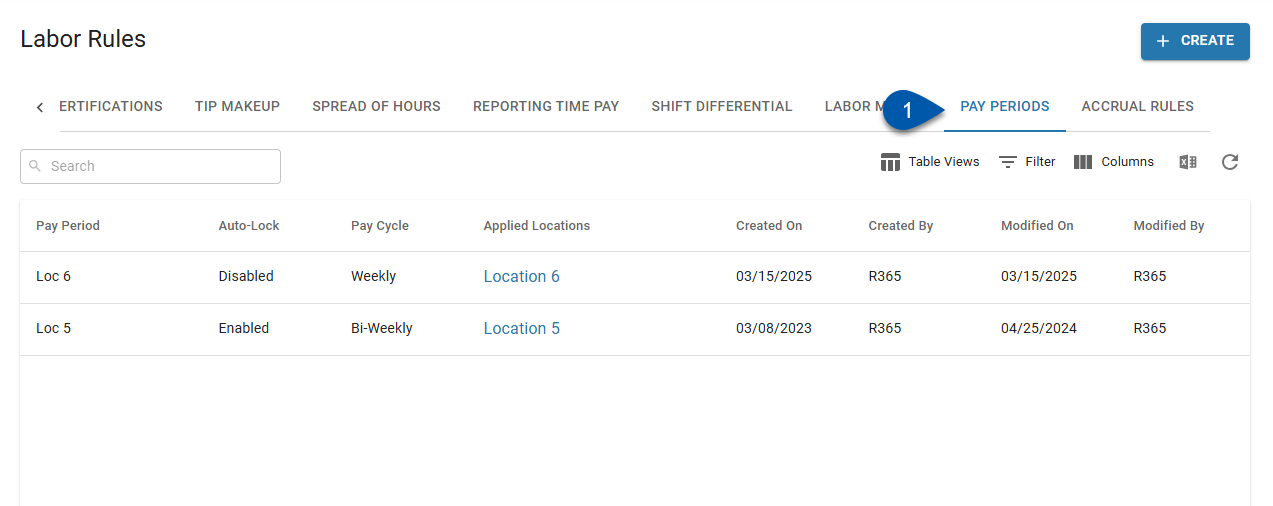
2) Click on the desired pay period rule.
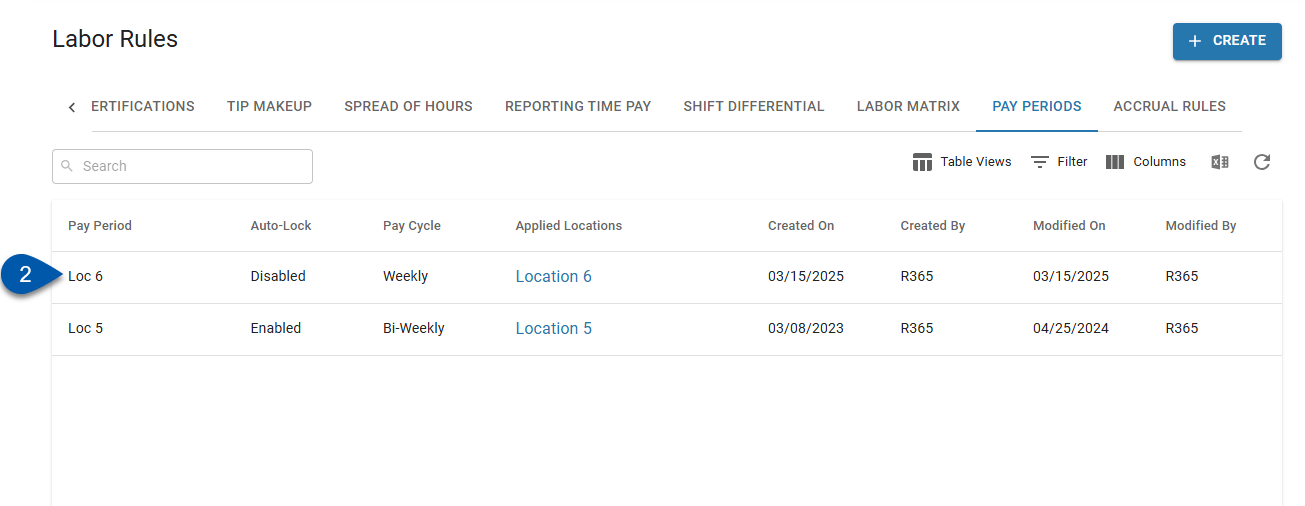
3) Change the name of the rule (Optional).
The rule name must be unique.
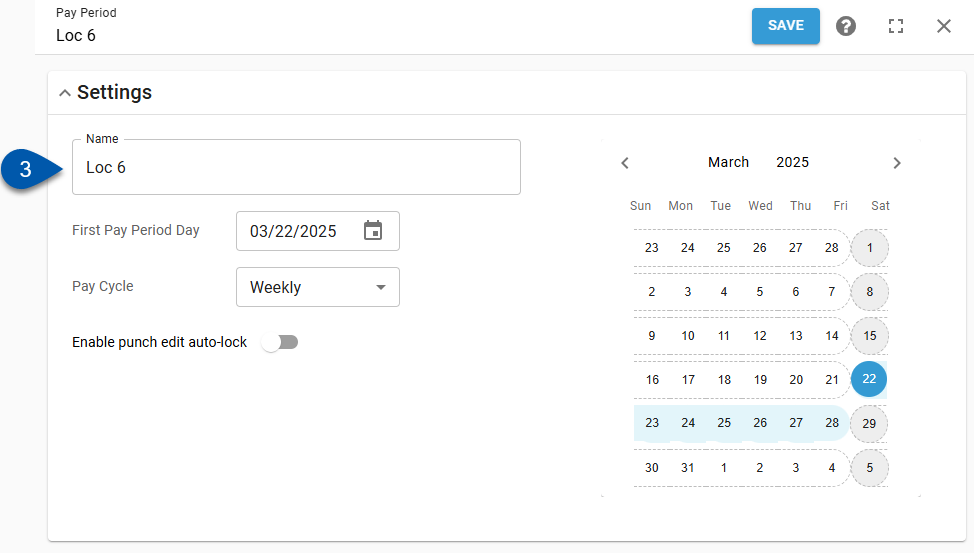
4) Update the first day of the first pay period. (Optional)
Changing the first day of the first pay period will change when pay periods start for assigned locations. If Time & Attendance is enabled, all pay periods between the new start date and the current pay period will need to be closed sequentially.
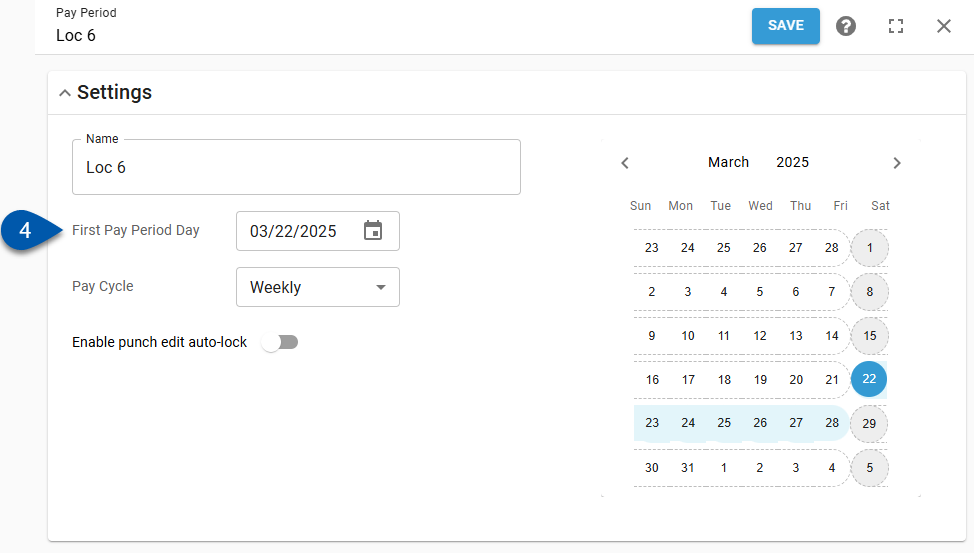
5) Update the pay cycle. (Optional)
Changing the first day of the pay cycle will change the pay period frequency for assigned locations.
If Time & Attendance is enabled, all pay periods between the selected start date and the current pay period will need to be closed sequentially, even if the start date did not change.
Weekly - Pay period is seven days long, starting on the same day of the week as the first pay period.
Bi-Weekly - Pay period is fourteen days long, starting on the same day of the week as the first pay period.
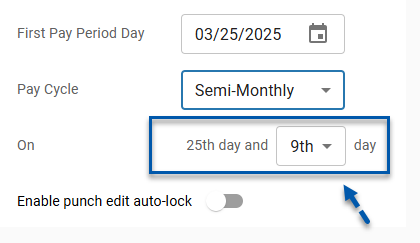
Semi-Monthly - Each month has two pay periods. The first pay period each month starts on the same day of the month as the first pay period. The second pay period starts on a selected day of the month.
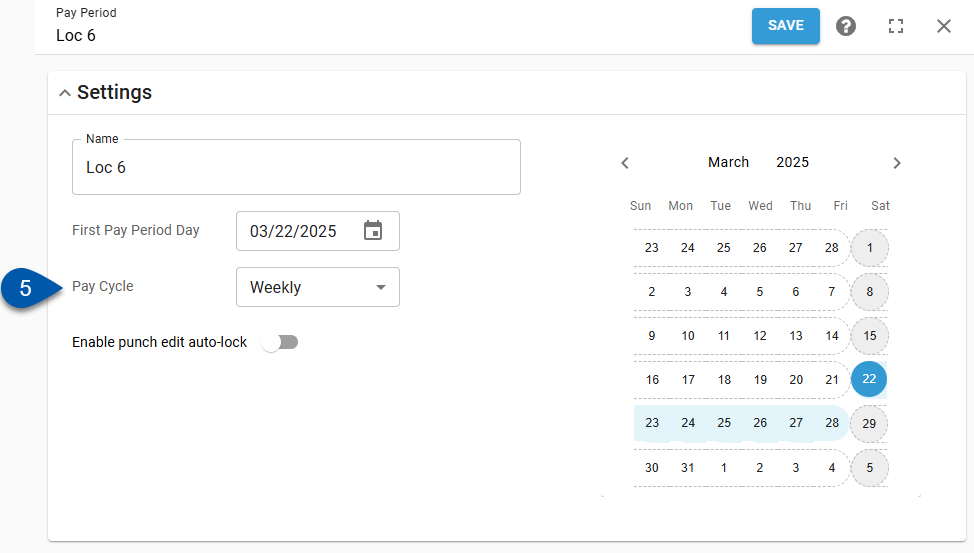
If Semi-Monthly is selected, define the start date of the second pay period.
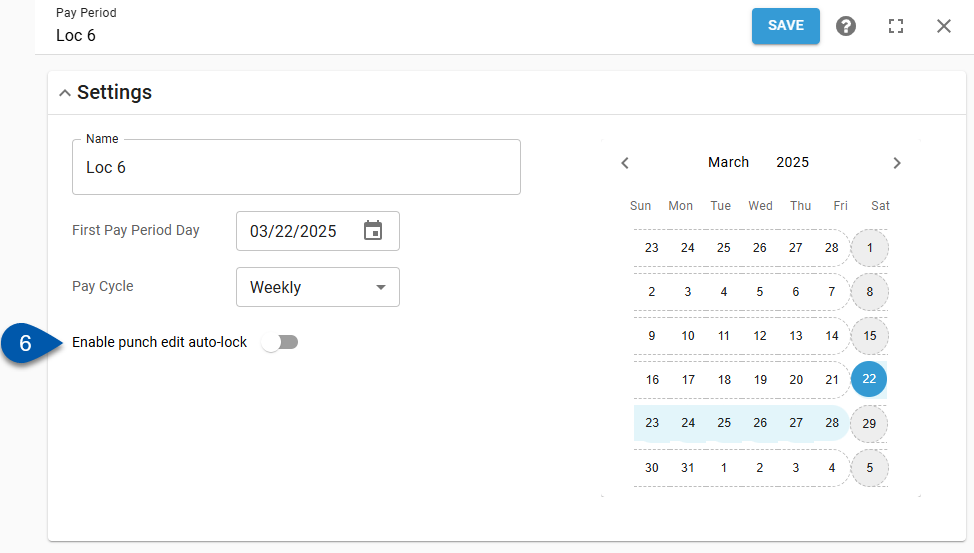
6) If R365 Punch Edits is enabled, update the punch edit auto-lock toggle. (Optional)
When enabled, users will be prevented from editing punches in the DSS after the end of the pay period.
If disabled, all restrictions on editing punches in the DSS are removed, including historical shifts.
Punch edit lock does not impact pay periods in Time & Attendance. In Time & Attendance, timecards are locked when the pay period is closed.
7) If punch edit lock is enabled, define how many days after the close of the pay period and the time of day that punches are locked.

8) Assign locations (Optional).
At least one location must be assigned before the rule can be saved.
All locations that utilize this rule will need to be selected from the Available Locations list and added to the Applied Locations list. 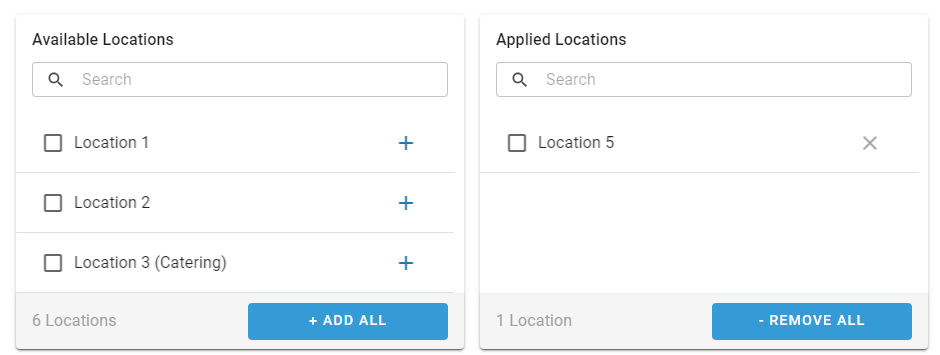
Locations can only be assigned to one rule group. Locations that have been assigned to another rule group will not be listed in either the Available Locations or Applied Locations lists.
Locations can be assigned in the following ways:
a) Click the plus button associated with the desired location.

b) Drag and drop the location into the Applied Locations list.

c) Check the checkbox associated with one or more locations, then click +Add Selected.
d) Click +Add All to assign all available locations. 
9) Remove locations (Optional).
All locations that will not utilize this rule will need to be removed from the Applied Locations list. 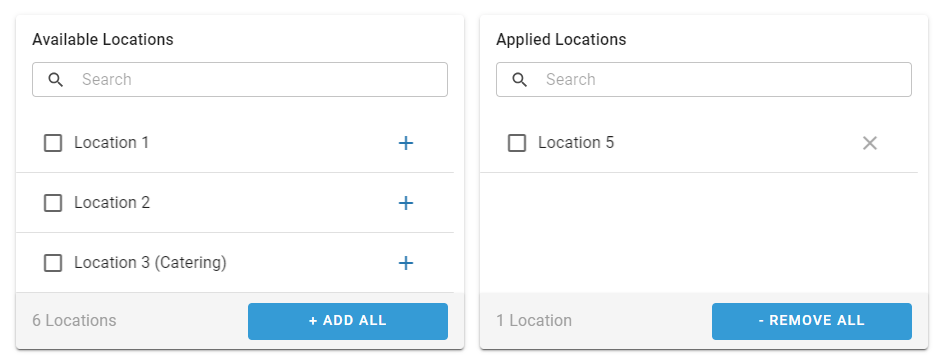
Locations can only be assigned to one tip makeup rule. Locations that have been assigned to another rule will not be listed in either the Available Locations or Applied Locations lists.
Locations can be removed in the following ways:
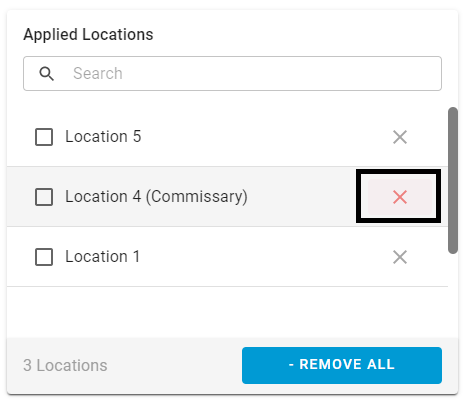
a) Click the X button associated with the desired location.
b) Drag and drop the location into the Available Locations list.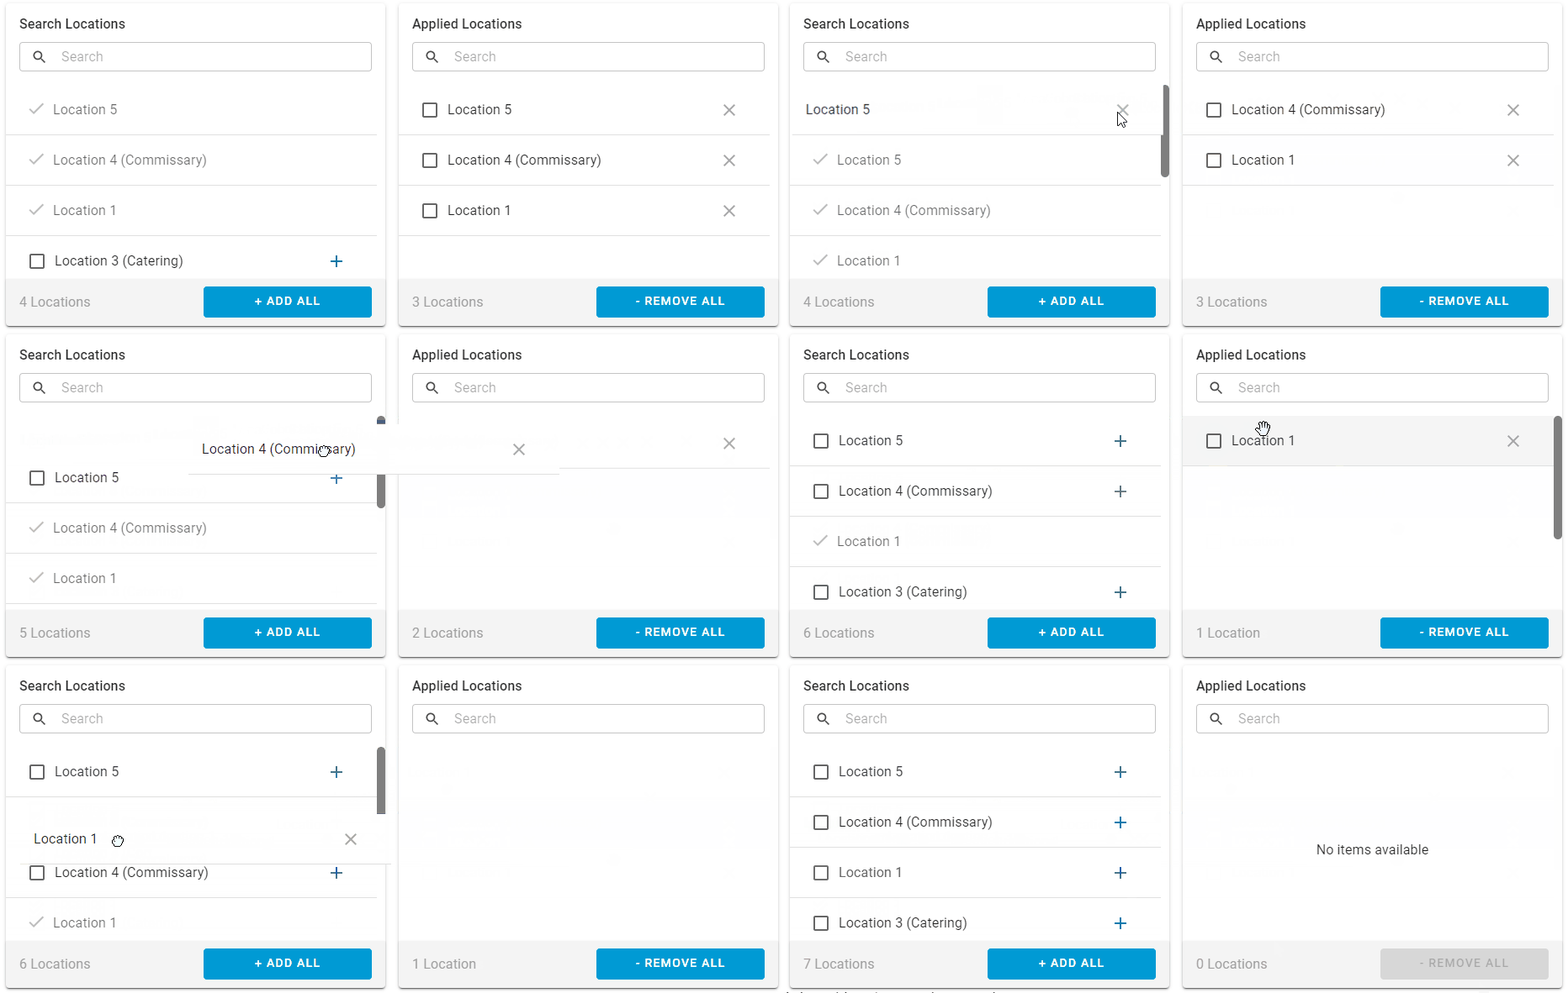
c) Check the checkbox associated with one or more locations, then click -Remove Selected.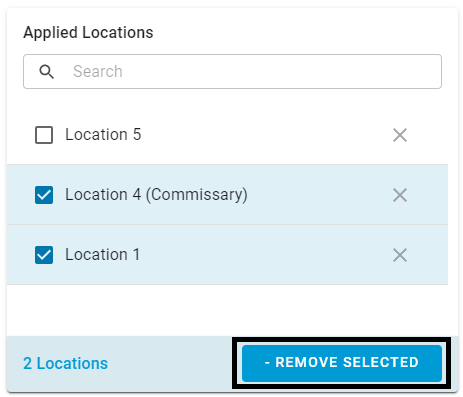
d) Click -Remove All to unassign all locations. 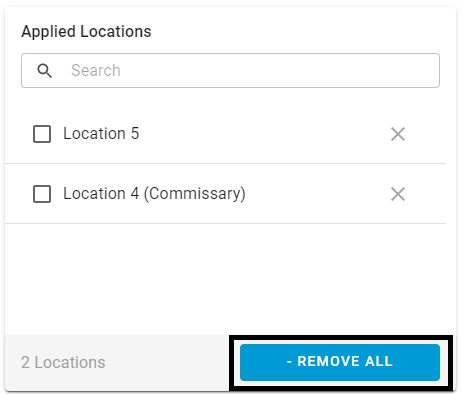
10) Click Save.
Changes will go into effect for all locations associated with the rule when the rule is saved.
