Menu item records are automatically created once the POS integration has been completed. R365 will automatically import each menu item that appears in your POS. Similar to the relationship between Employees and POS Employees, a menu item and a point of sale (POS) item will be created for each menu item that appears on each POS that is integrated with R365.
Menu Items - Allows the user to set the details for each menu item including: Display Name, Estimated Cost, Price, Target Margin, etc.
Point of Sale Items - Items from the point of sale (POS) system that allow the user to link together more than one menu item. This is especially helpful when a menu item has a different name (in the POS) at each location. Read more about point of sale items.
When POS System-Level Matching is enabled, POS item records are scoped to individual POS systems. Cross-system linking is preserved — multiple POS systems can each have their own POS item record that all link to the same Menu Item in R365, supporting multi-POS reporting and recipe depletion accuracy.
POS System-Level Matching is currently in beta.
Read more about mapping Recipes to Menu Items.
Navigation
Navigation Steps
Open the Sales & Forecasting application.
Expand Menu Items.
Select Menu Items.

Search
Navigate to pages with the R365 global search bar:
Enter all or part of the page name in the R365 global search bar.
Select the page from the results list.
Only enabled pages can be searched for. If the desired page is not enabled, contact your CSM for assistance.

Menu Items Page

Field | Description | |
|---|---|---|
1 | Create | Opens a new blank menu item record. Read more about how to create menu items. |
2 | Menu | Opens the menu with the following options:
|
3 | View Actions | Saved table filters and column settings. The highlighted view is currently displayed. Click on a view to display the table with the saved filter and columns settings. Learn more about managing table views.
|
4 | Table Actions |
|
5 | Columns | Names of columns are listed in this row. The columns pull the information from the menu item record. |


Menu Item Record
The menu item record is broken up into sections listed on the Section Menu (#2).

Button/Field | Description | |
|---|---|---|
1 | Menu Item Name / Type | Name and type of the open menu item.
|
2 | Section Menu | Sections of the menu item record. |
3 | Section Details | Informational and editable fields by section. Read more about each section below. |
4 | Menu Item Status | The status of the menu item. This will be one of the following:
|
5 | Menu | Opens the menu item menu options, including the following:
|
6 | Save | Saves any changes or edits made to the menu item record. |
7 | Close | Closes the menu item record without saving. |
Menu Item Rule
In Beta
This feature is in beta. Contact your CSM to learn more.

Button/Field | Description | |
|---|---|---|
1 | Search | Searches the list of existing menu item rules, |
2 | Add Rule | Opens the rule builder to create a new menu item rule. |
3 | Menu Item Rule | Configured menu item rule. This has the name of the rule as well as the preview of the conditional statement. Ex. WHEN Menu Item is [Menu Item] THEN deplete [Recipe]. |
4 | Edit | Opens the associated menu item rule for editing. |
5 | Delete | Deletes the associated menu item rule.
|
Add / Edit Rule Window
The Add Rule / Edit Rule window opens when the Add Rule or edit buttons are clicked.

Button/Field | Description | |
|---|---|---|
1 | Name | Name given to the menu item rule. This should be a name that allows users to identify the rule. |
2 | Automation Description | Read-only preview of the rule trigger(s) and action(s) in plain language. Updates automatically as conditions and actions are added. |
3 | WHEN Section | Section header for rule conditions. Defines the ticket context that must be true for the rule to trigger.
|
4 | Primary Indicator | Notice indicating the locked primary entity. The primary entity is the menu item the rule belongs to and the entity that receives cost attribution when the rule triggers. |
5 | Add Condition | Adds a new condition to the WHEN section. |
6 | THEN Section | Section header for rule actions. Defines the depletion or replacement that executes when the WHEN conditions are met. |
7 | Delete Condition / Action | Removes the associated condition or actionfro |
8 | Add Action | Adds a new action row to the THEN section. |
9 | Menu | Opens the rule action menu. From here, the delete option is accessible. |
10 | Add Rule / Update Rule | Saves the rule with its settings. When creating a new rule, this button will say Add Rule. When editing an existing rule, this will say Update Rule. |
11 | Close | Closes the menu item rule without saving. |
Relationships

Button/Field | Description | |
|---|---|---|
1 | Point of sale items table | Lists all the point of sale items that this menu item is linked to. The table contains the following information:
|
Settings

| Button/Field | Description |
|---|---|---|
General Information | ||
1 | Name | The menu item name, as it appears in your POS system, will be populated in this field. |
2 | Entree Indicator | Select Yes if the menu item is an entree. This will allow for filtering on various Reports and on the menu item list. |
Menu Item Categories | ||
3 | Category 1 | Create and assign Menu Item Categories 1 through 3 to categorize and group menu items. Menu item categories are very useful in performing reports on menu items. Click here for more information on Menu Item Categories
|
4 | Category 2 | |
5 | Category 3 | |
Costing | ||
6 | Target Profit % | The target profit % for the menu item. Informational only. |
7 | Estimated Cost | The estimated cost for the menu item. Informational only. |
8 | Estimated Price | The estimated price for the menu item. Informational only. |
Menu Item Reporting
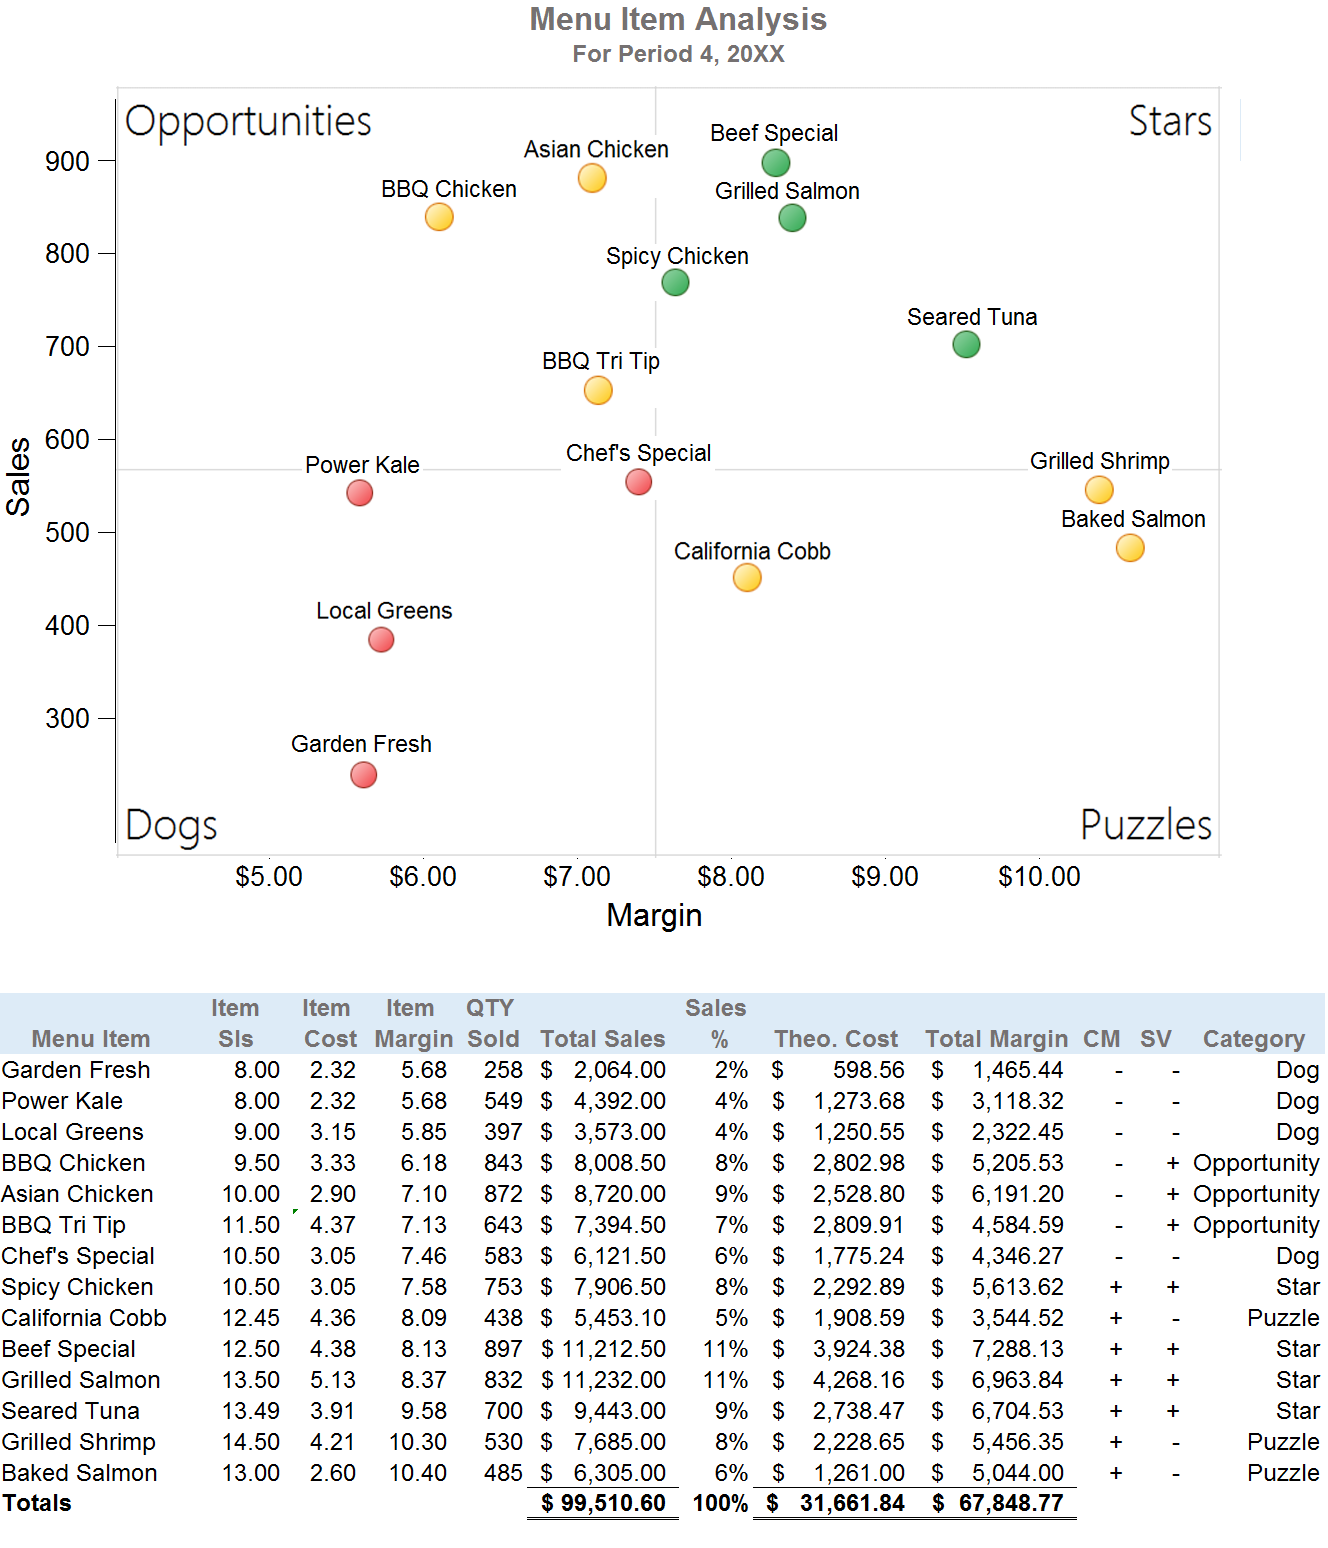
Users with the appropriate permissions can view or run menu item reports. These allow users to:
Visually review the performance of each menu item with ease.
Analyze menu items with greater efficiency.
Easily see how items are doing well and where the menu can be improved.
A few reports exist to calculate and analyze recipe costs and more reports are added often. Two primary reports used in this module are: