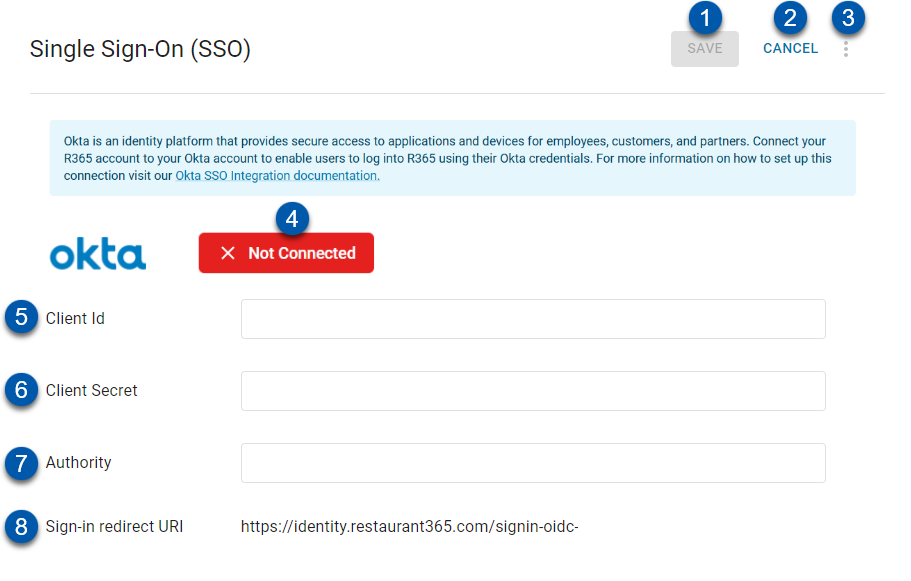
The Okta page contains the integration settings for the Okta SSO integration. Here, users can view, connect, and edit the Okta connection.
SSO can only be configured in Smart Operations.
Security
SSO Permissions are found in the Permission Tree as follows:
Administration
Single Sign-On (SSO)
View Single Sign-On
Create/Edit Single Sign-On
Delete Single Sign-On
These permissions can be added to custom user roles or individual users. The Permission Access report can be used to determine which user roles or users already have these permissions assigned. For more information, see User Setup and Security.
Navigation
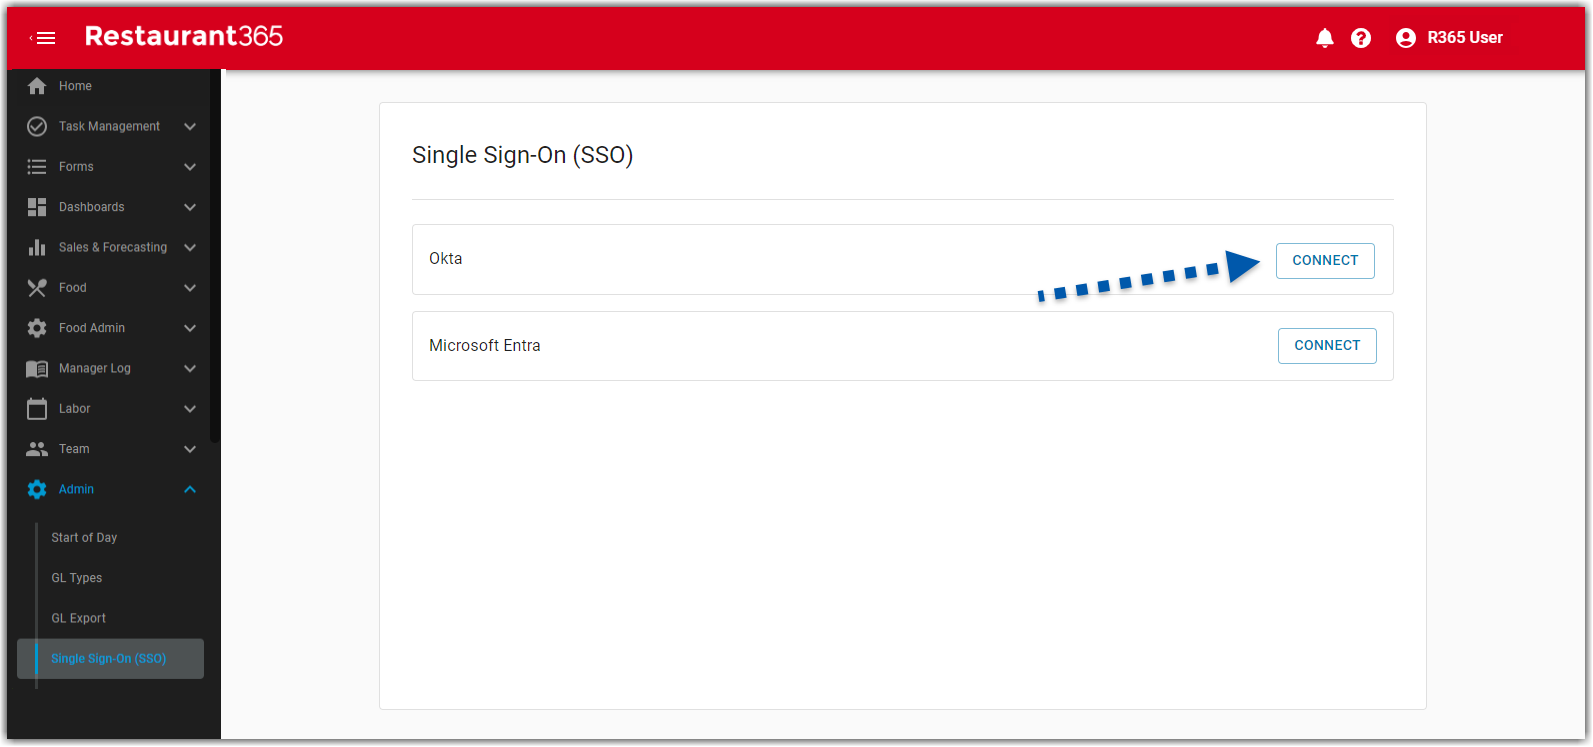
From the Single Sign On (SSO) page, click Connect on the Okta card.

Single Sign-On: Okta

Buttons and Fields
Field/Button | Description | |
|---|---|---|
1 | Save | Save changes to SSO Okta page. |
2 | Cancel | Closes the SSO page without saving changes made. |
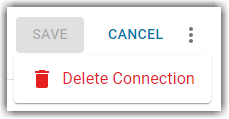
3 | Menu Icon | Displays additional options: Once saved, users have the option to delete the connection.
|
4 | Connection Status | Displays the status of the connection: Not Connected: Okta SSO is not connected. The Login with Okta button is not available on the login page. Connected: Okta SSO is connected. The Login with Okta button is available on the login page. |
5 | Client Id | Public identifier required by all OAuth flows that is created when the app integration is set up.
|
6 | Client Secret | A unique secret generated by Okta for secure communication between Okta and R365.
|
7 | Authority | The Okta domain used to authenticate users and manage secure access to applications. |
8 | Sign-in redirect URI | The Sign-in Redirect URI where Okta sends the authentication response and ID token after a sign-in. |
