For an HR employee management integration, locations in the HR system must be mapped to locations in R365. This is done on the Locations tab of the Integration Mapping screen. Jobs and employees will only be synced for HR system locations mapped to R365 locations.
When mapping location records, the mapping list can be switched between viewing HR system records or R365 records. Typically, viewing the source record list (HR system records) is the most efficient way to complete mappings.
Location mapping steps are the same across all HR management integrations, including Alliance, Workday, UKG, and Netchex.
UKG locations can only be mapped after legal entities are mapped. The legal entity mapping defines which locations are available in R365.
AllianceHCM locations are identified based on the cost center selected for locations during legal entity mapping. This selection determines which locations are available to map in R365.
Security
Only users with the following permission can map locations for an HR Employee Management integration:
Administration → Integrations → 3rd Party HR Admin
Map An Unmapped HR System Location
Follow these steps to map an unmapped HR system location:
Click steps to expand for additional information and images.
1) Navigate to the Integration Connection page.
The Integration Connection page is opened by clicking on the desired integration on the Integrations page. 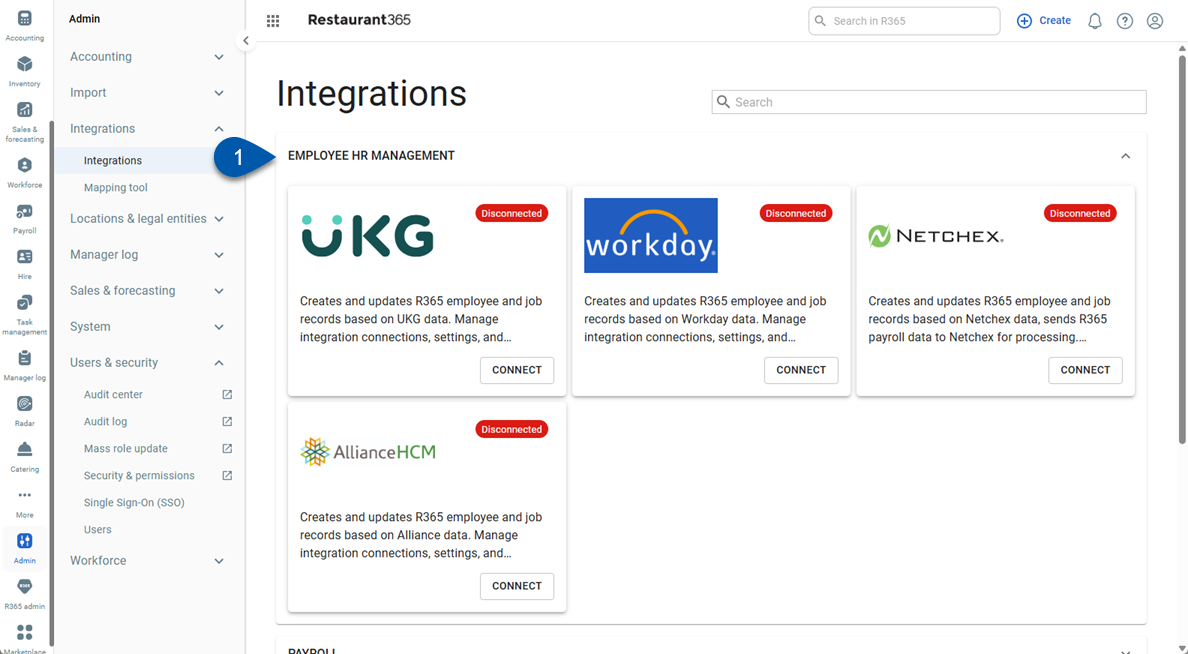
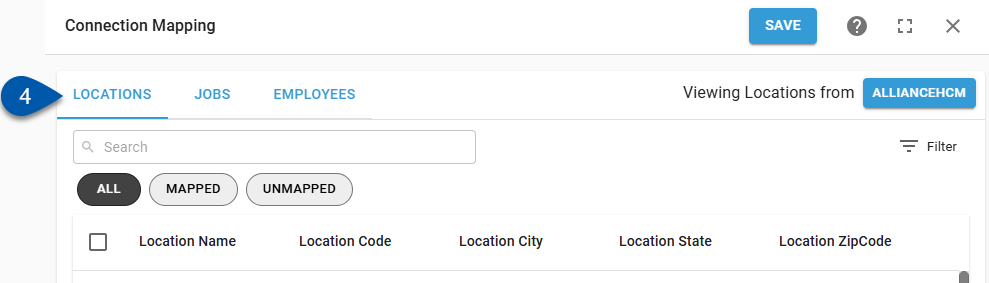
2) Click Edit Account Mapping to open the Integration Mapping page.

3) Confirm that locations from the HR system are displayed. If not, click ‘R365’ in the upper right corner to switch the view.
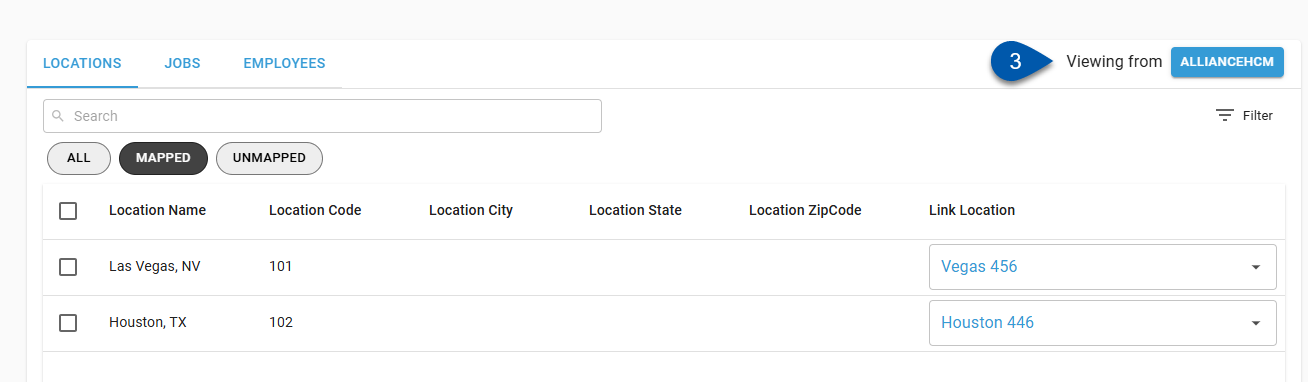
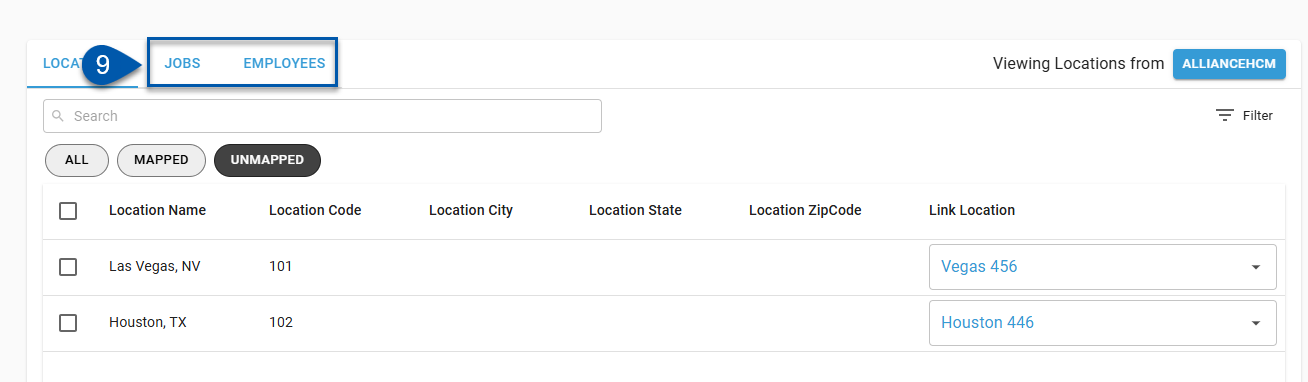
4) Confirm that the Locations tab is selected.
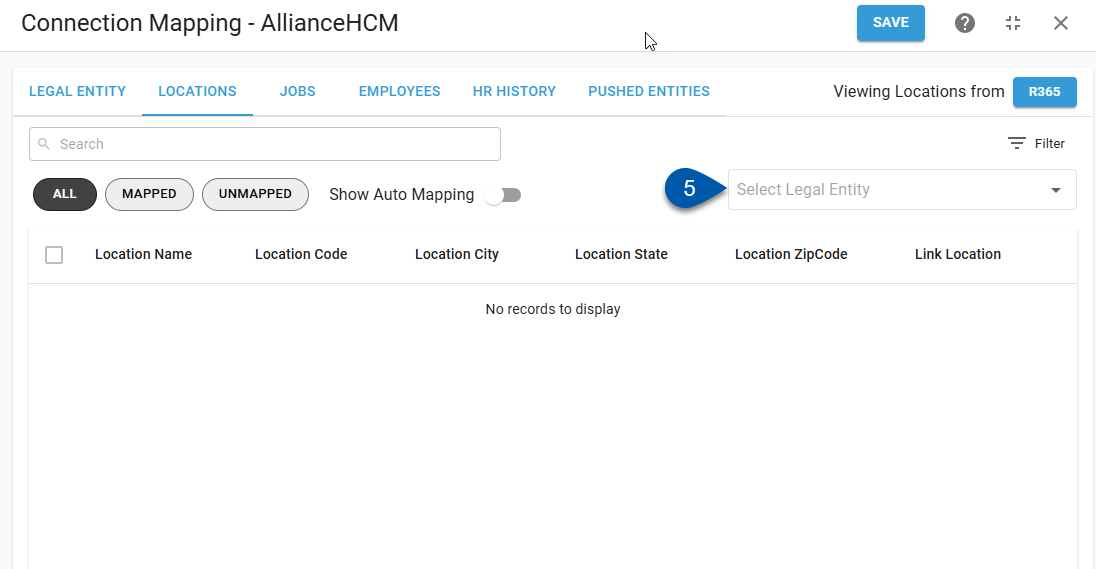
5) For UKG and AllianceHCM integrations, select the legal entity for the locations to be mapped.
A legal entity must be selected before locations are displayed for mapping. Only mapped legal entities are listed.
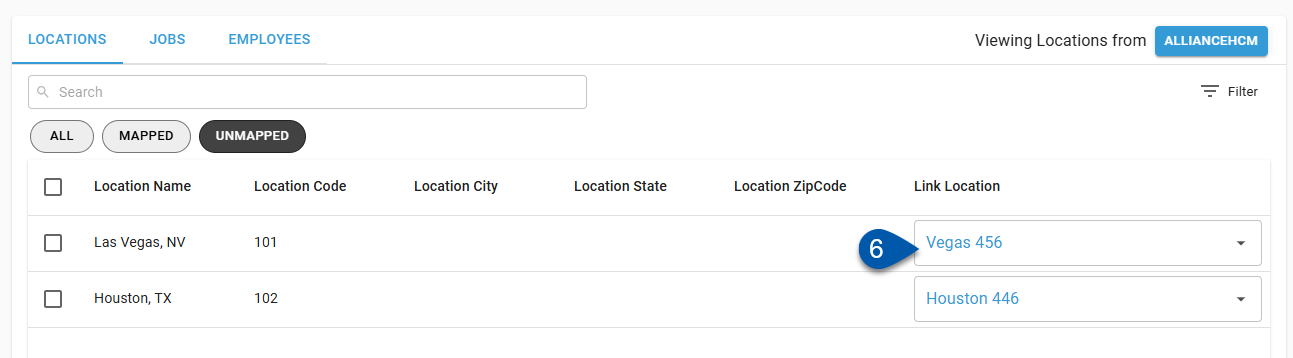
6) Click the Unmapped filter to only display unmapped locations.
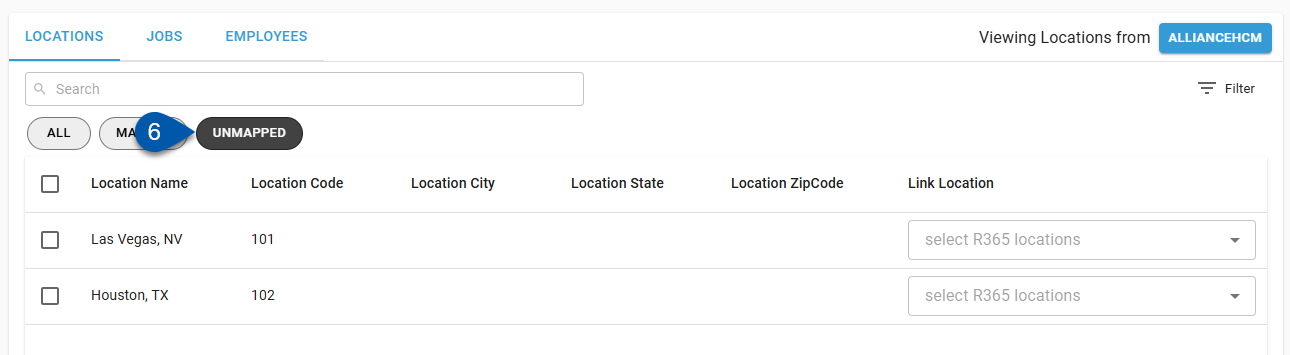
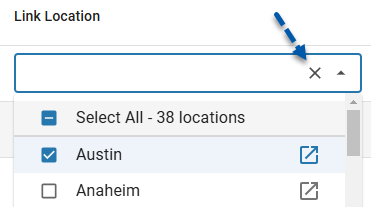
7) Open the Link Location dropdown menu. Available R365 locations will be listed.
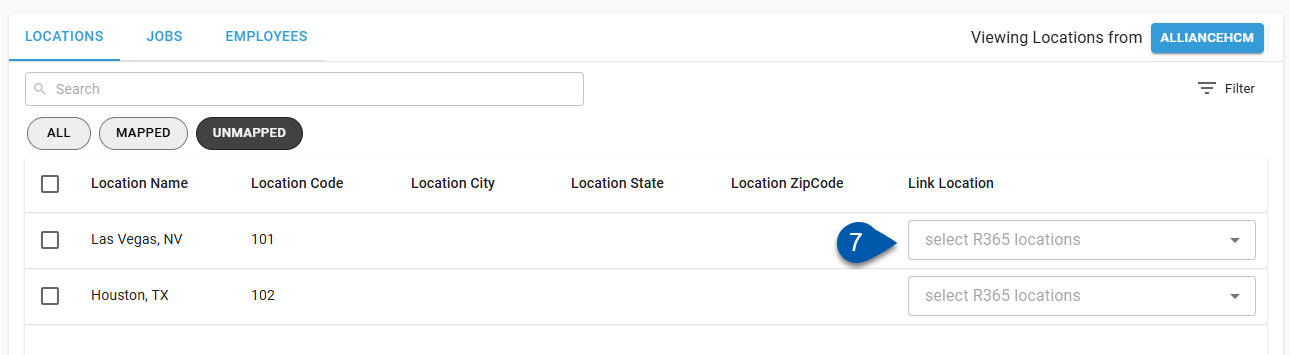
8) Select the desired R365 locations.
Each HR system location can be mapped to multiple R365 locations. Only locations that the user has access to will be listed.
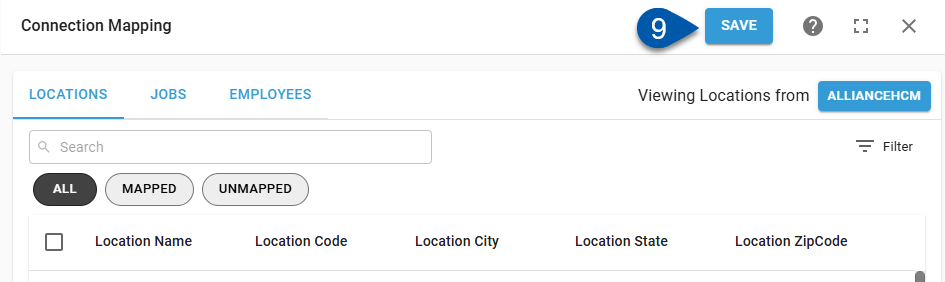
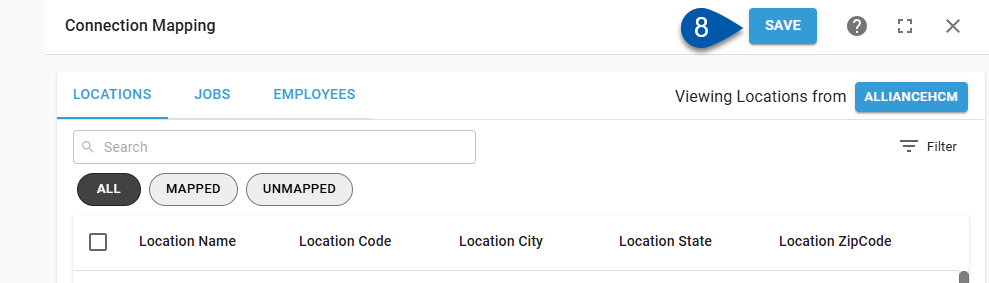
9) Click Save.
Change Location Mapping
Job and employee mapping is tied to location mapping. Changing a mapped location will clear existing job and employee mapping.
Follow these steps to change the mapping for an HR system location:
Click steps to expand for additional information and images.
1) Navigate to the Integration Connection page.
The Integration Connection page is opened by clicking on the desired integration on the Integrations page.
2) Click Edit Account Mapping to open the Integration Mapping page.
3) Confirm that locations from the HR system are displayed. If not, click ‘R365’ in the upper right corner to switch the view.

4) Confirm that the Locations tab is selected.

5) For UKG and AllianceHCM integrations, select the legal entity for the locations to be mapped.
A legal entity must be selected before locations are displayed for mapping. Only mapped legal entities are listed.
6) Locate the desired location, then click the linked location.
7) Select the desired R365 locations.
Each HR system location can be mapped to multiple R365 locations. Only locations that the user has access to will be listed.
Uncheck all locations or click the X button in the dropdown menu to clear the mapping completely.
8) Click Save.
9) Review and update job and employee mapping for the changed location.
Job and employee mapping is tied to location mapping. Changing a mapped location will clear existing job and employee mapping.
If automatic sync is on, jobs and employees will be automatically mapped for the new location. It is recommended to review automatically mapped jobs and employees when changing location mapping.
Learn more about mapping jobs.
Learn more about mapping employees.