This article reviews the steps for mapping jobs for a Workday integration. Jobs can only be mapped for Workday locations mapped to R365 locations.
When mapping job records, the mapping list can be switched between viewing Workday records or R365 records. Typically, viewing the source record list (Workday records) is the most efficient way to complete mappings.
When manually creating jobs, the job record is only created when Save is clicked.
When changing mappings, data is only updated moving forward. To update historical labor data, the DSS will need to be re-imported.
Security
Only users with the following permission can map locations for a Workday integration:
Administration → Integrations → 3rd Party HR Admin
Auto-mapped Jobs
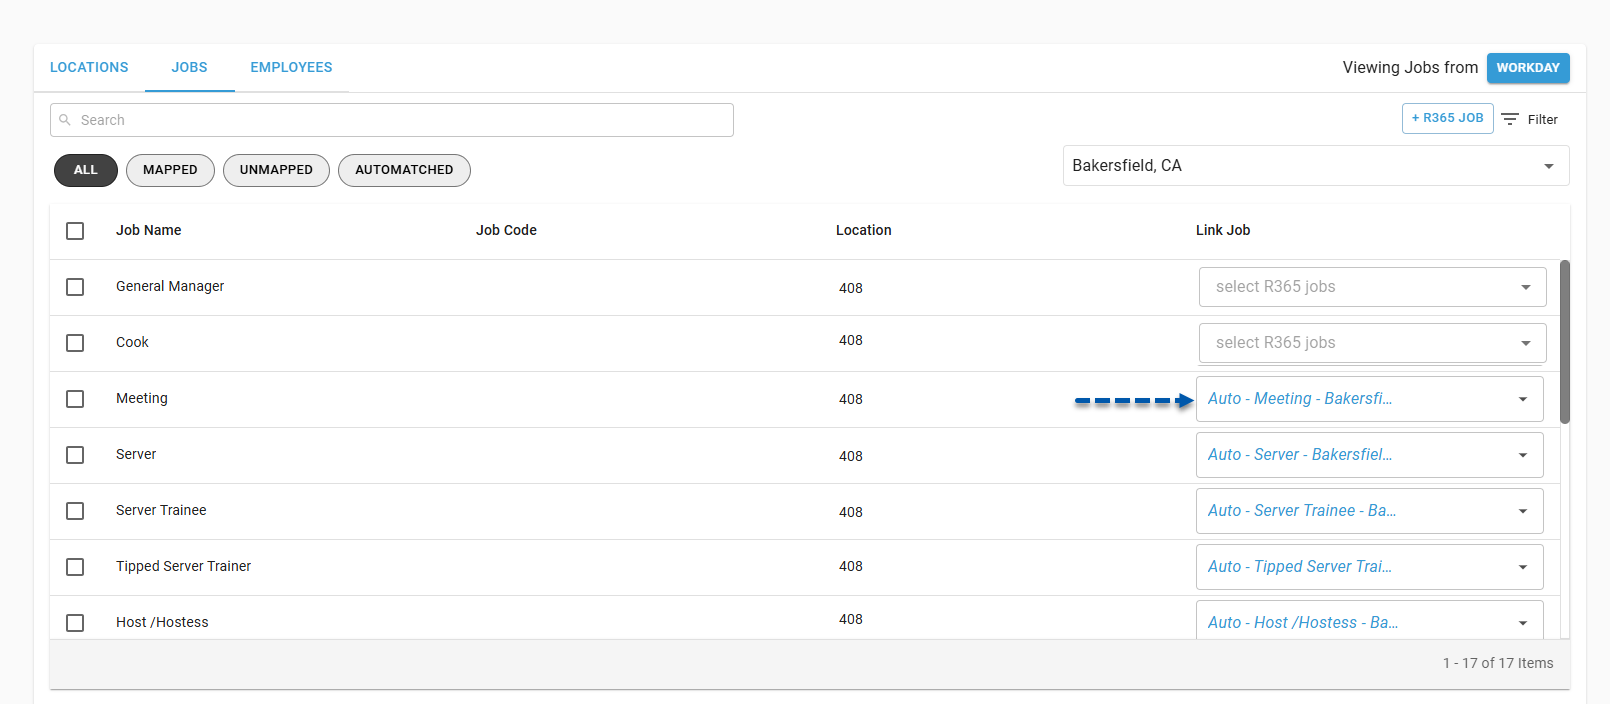
When automatic sync is turned on for the Workday integration, jobs for mapped locations are automatically mapped when the job code or job name matches in both systems.
When viewing job mapping, automatically mapped jobs are prefaced with ‘Auto - ’.
Map a Workday Job to an Existing R365 Job
Follow these steps to change the mapping for a Workday job:
Click steps to expand for additional information and images.
1) Navigate to the Workday Connection page.
The Workday Connection page is opened by clicking on the Workday integration on the Integrations page. 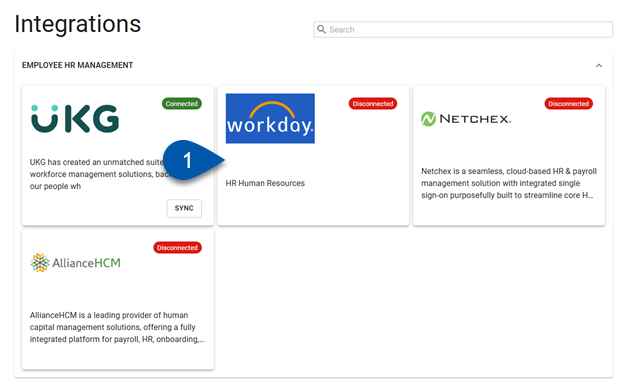
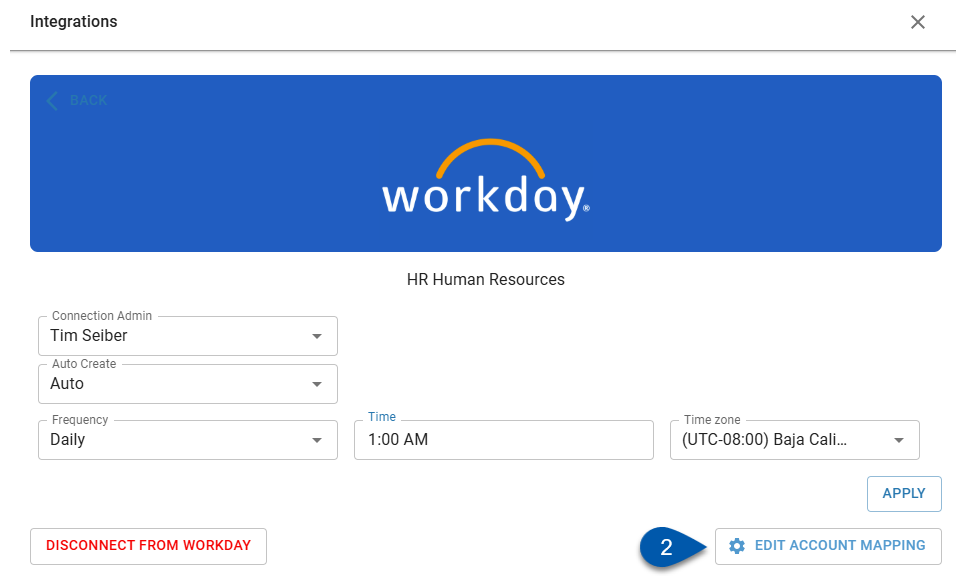
2) Click Edit Account Mapping to open the Workday Integration Mapping page.
3) Confirm that locations from Workday are displayed. If not, click ‘R365’ in the upper right corner to switch the view.

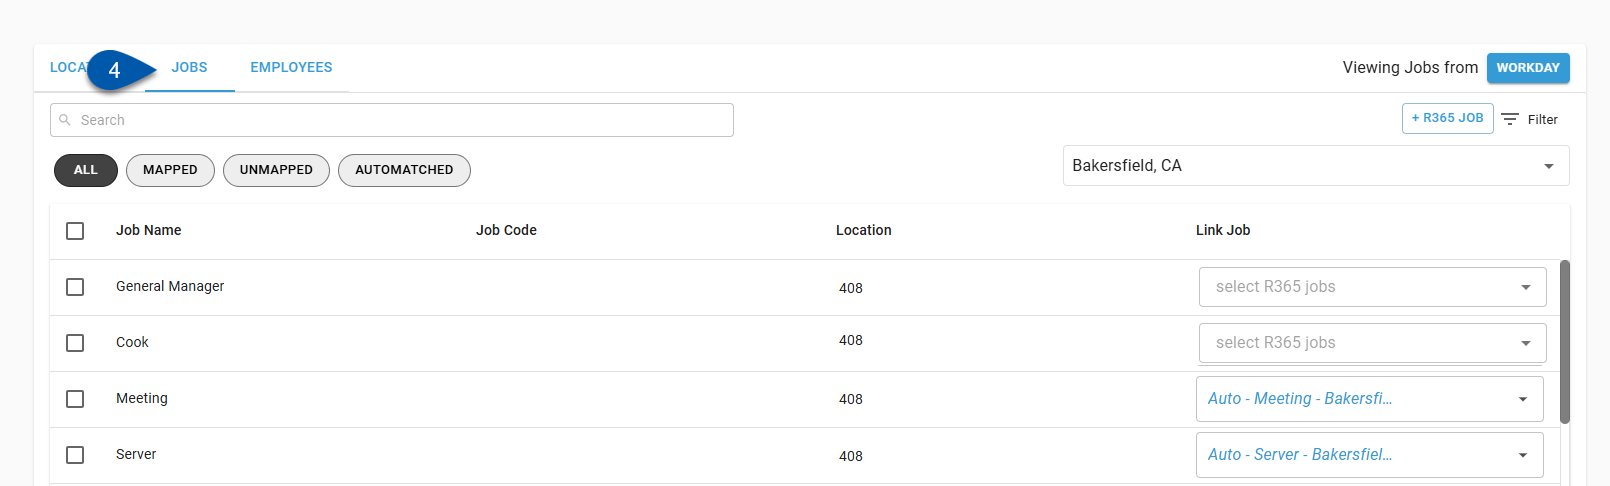
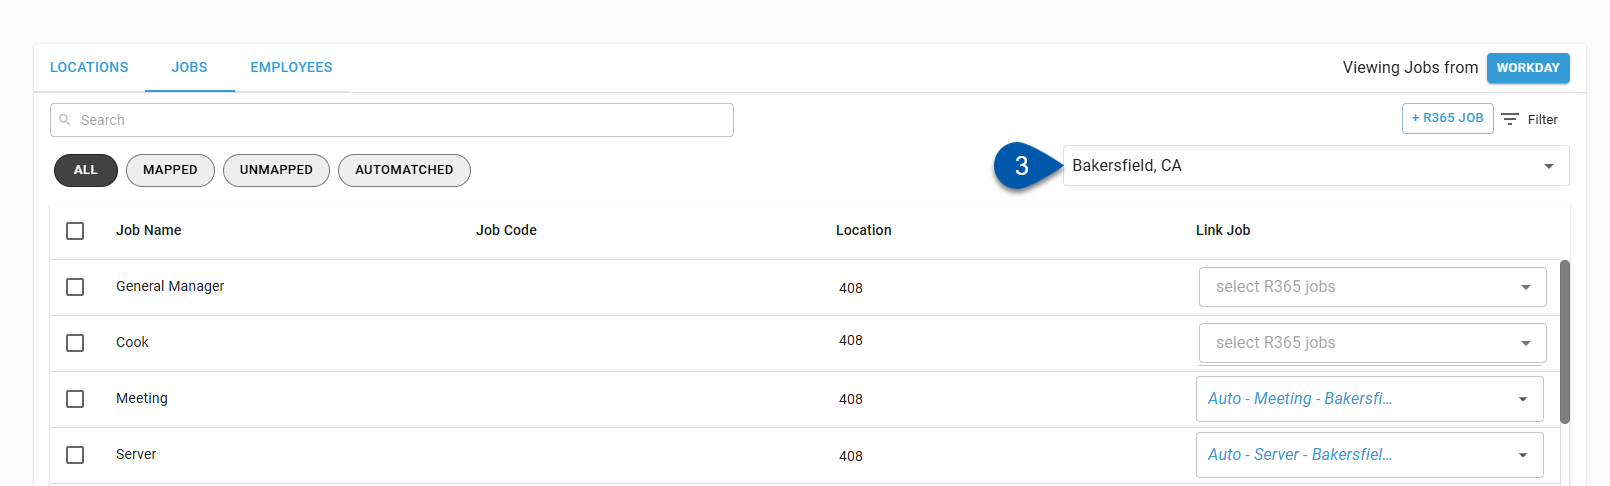
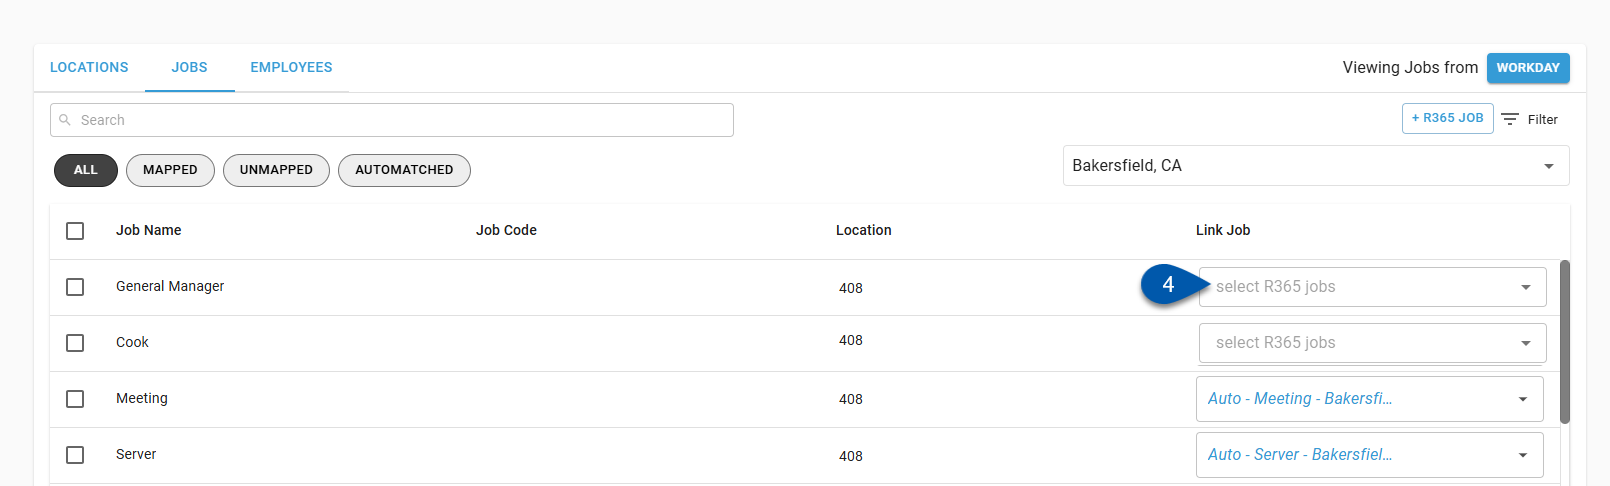
4) Select the Jobs tab.
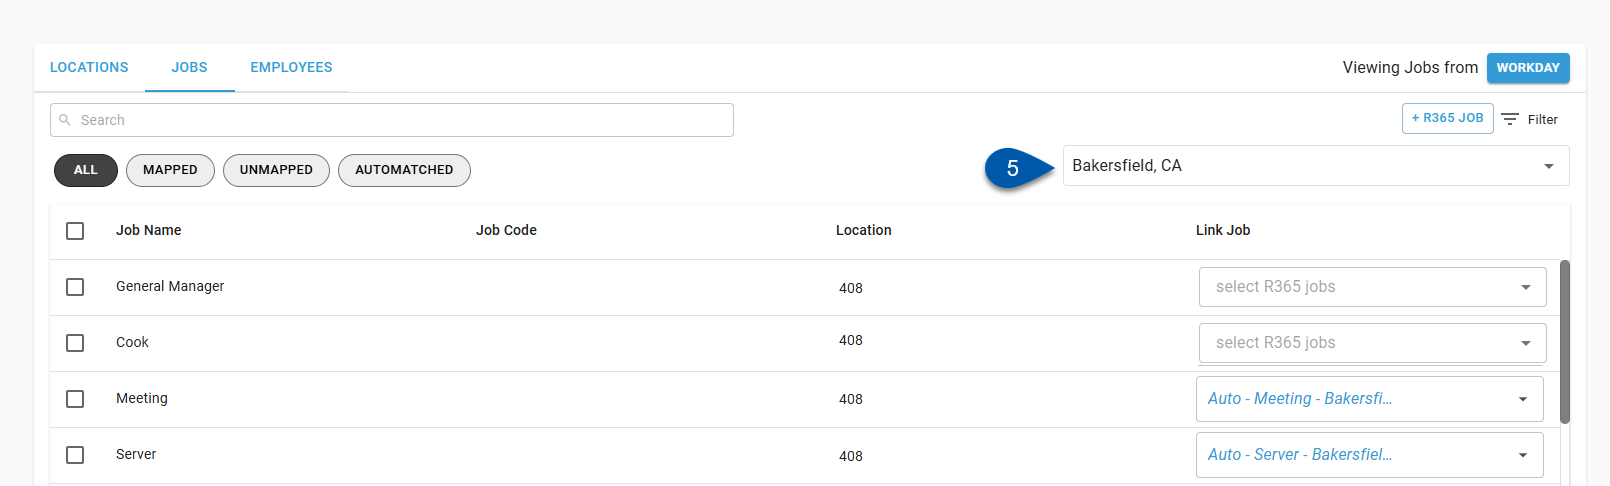
5) Select the desired location from the Location dropdown menu.
Only mapped locations are listed.
6) Open the Link Job dropdown menu, then select the desired R365 jobs.
Only jobs associated with the R365 location(s) mapped to the Workday location selected are listed.
Multiple Workday jobs can be mapped to the same R365 job. 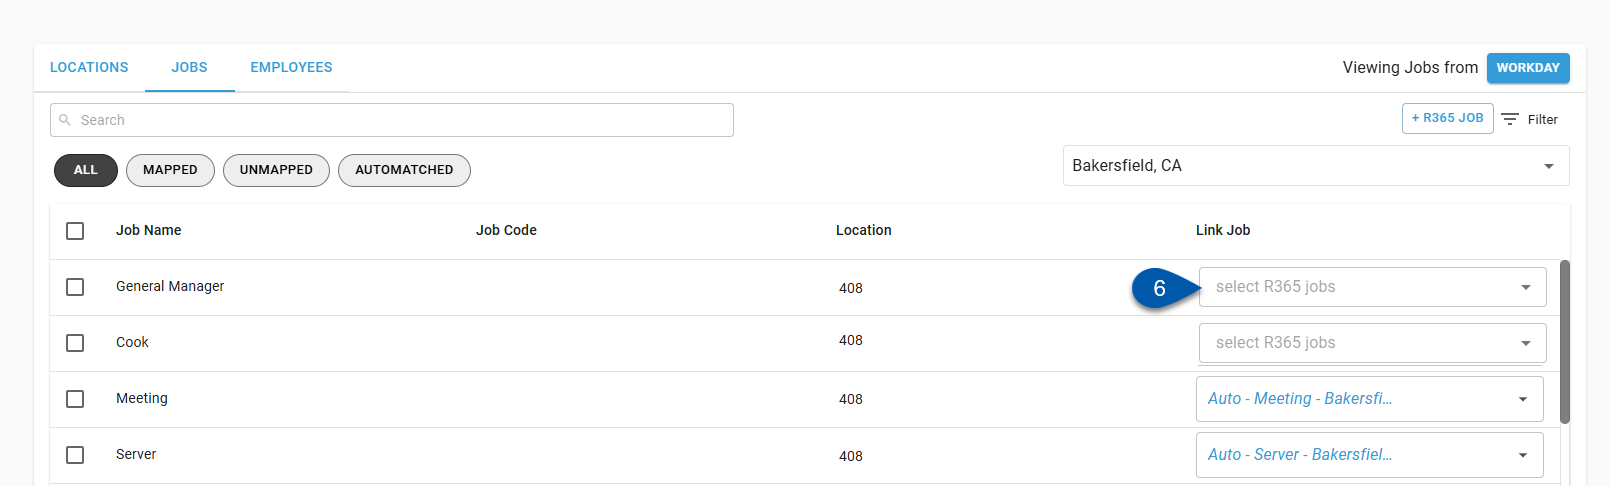
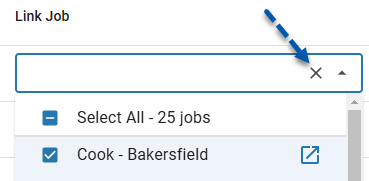
Uncheck all jobs, or click the X button in the dropdown menu to clear the mapping completely.
7) Save.

Bulk Map Jobs
Follow these steps to map multiple Workday jobs to the same R365 job:
Click steps to expand for additional information and images.
1) Open the Jobs tab of the Workday Integration Mapping page.

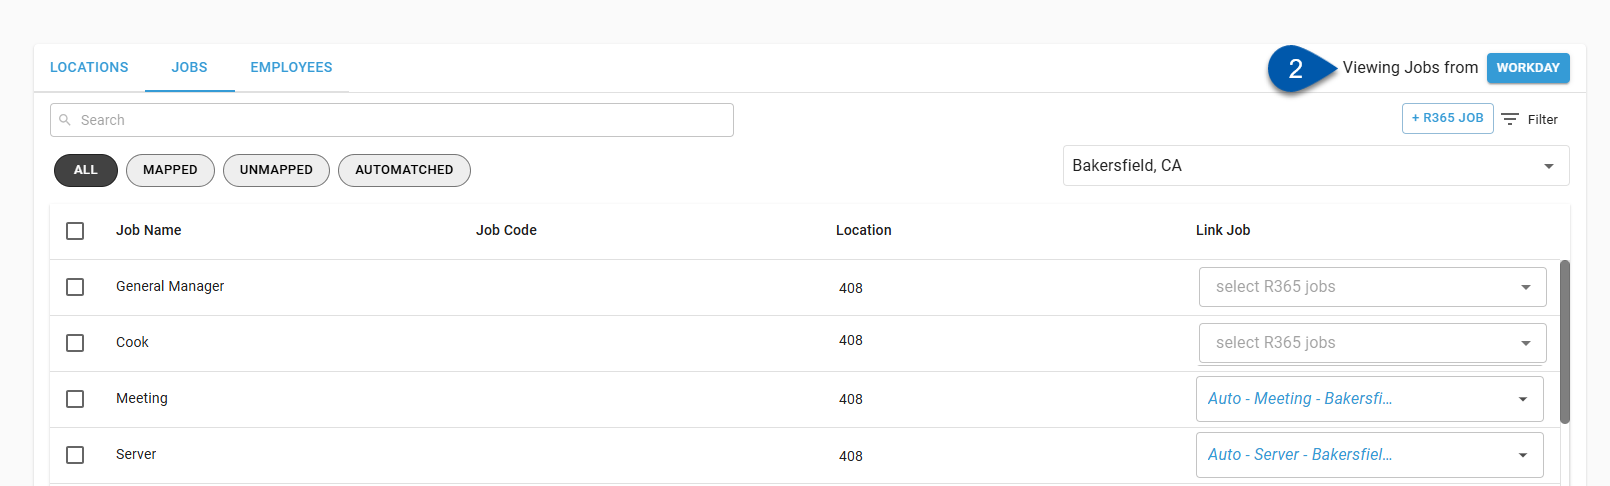
2) Confirm that jobs from Workday are displayed. If not, click ‘R365’ in the upper right corner to switch the view.
3) Select the desired location from the Location dropdown menu.
Only mapped locations are listed.
4) Check the bulk select box for desired jobs.
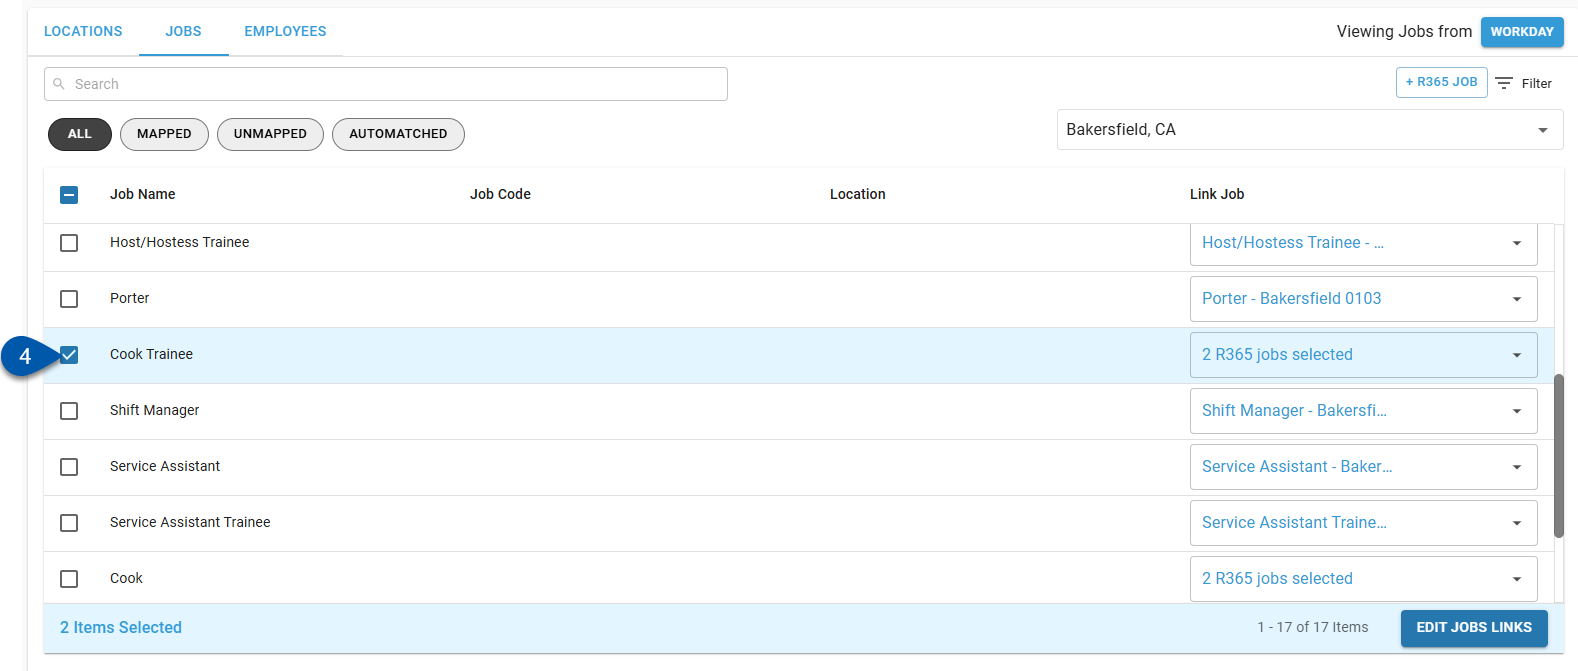
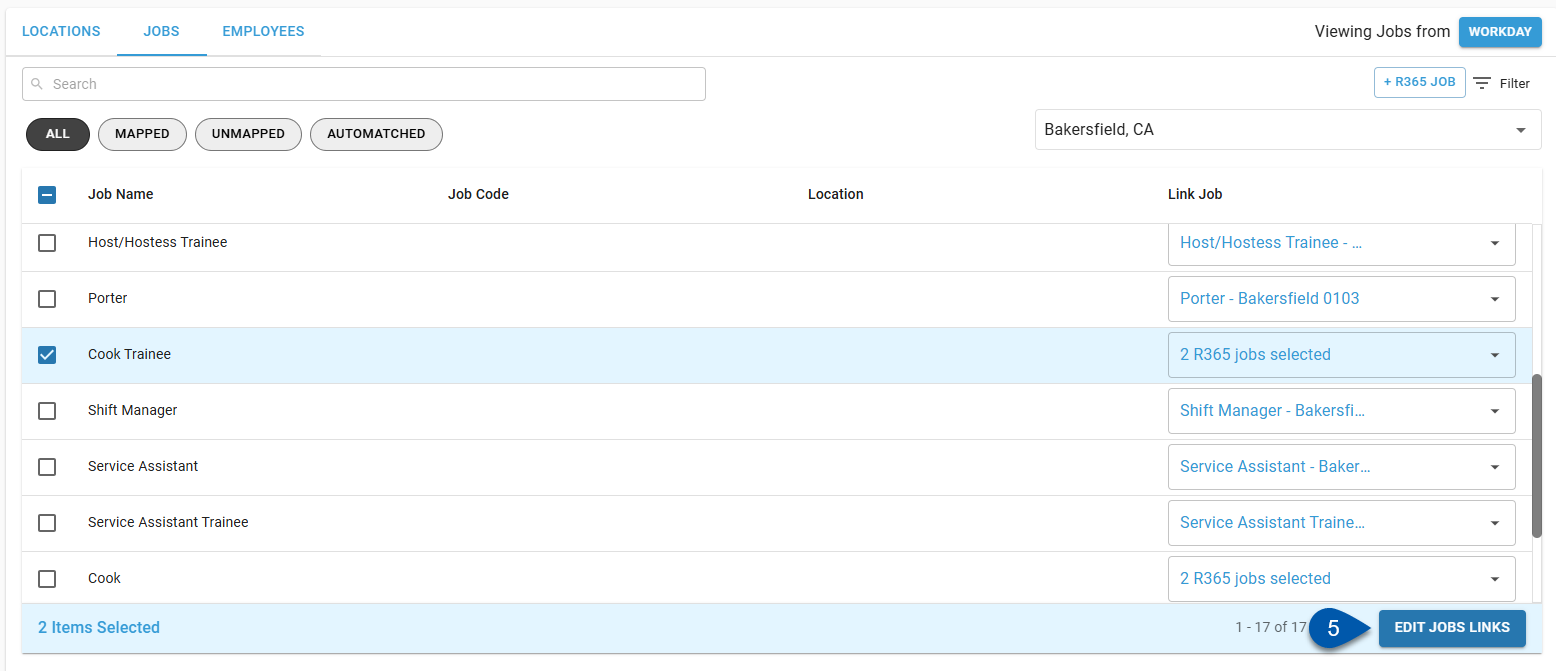
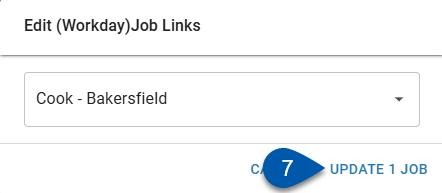
5) Click Edit Job Links in the bottom right corner of the page.
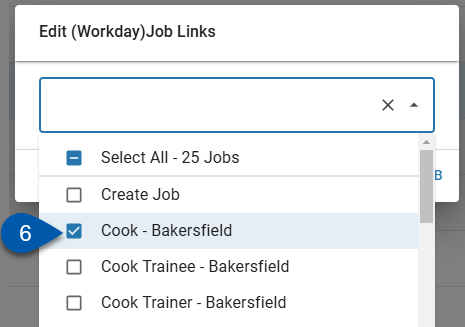
6) Select the desired R365 job from the list of jobs.
7) Click Update ___ Job(s).
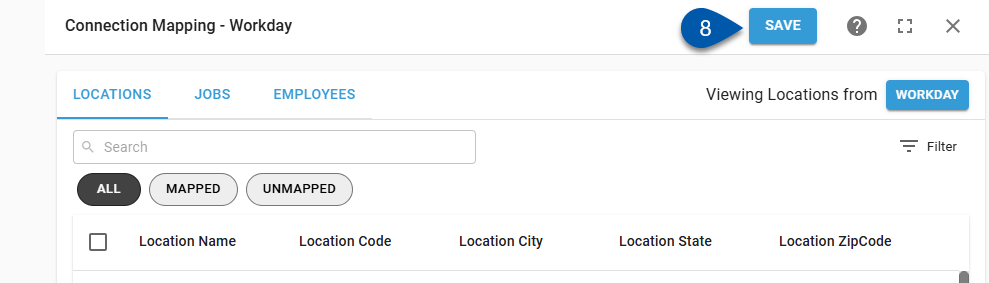
8) Click Save on the Workday Integration Mapping page.
When manually creating jobs, the job record is only created when Save is clicked.
Map a Workday Job to a New R365 Job
If the desired job is not already created in R365, new job records can be created from the Workday mapping page.
Only R365 job records can be created from the Workday Integration Mapping page. Workday jobs must be created in Workday.
Create Job - Button
Follow these steps to create a new job from the Workday Mapping page without selecting the Workday job first:
Click steps to expand for additional information and images.
1) Select the Jobs tab.
2) Click +R365 Job.

When viewing jobs from R365, this button is labeled +Job. 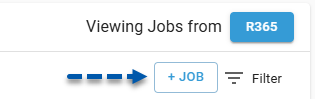
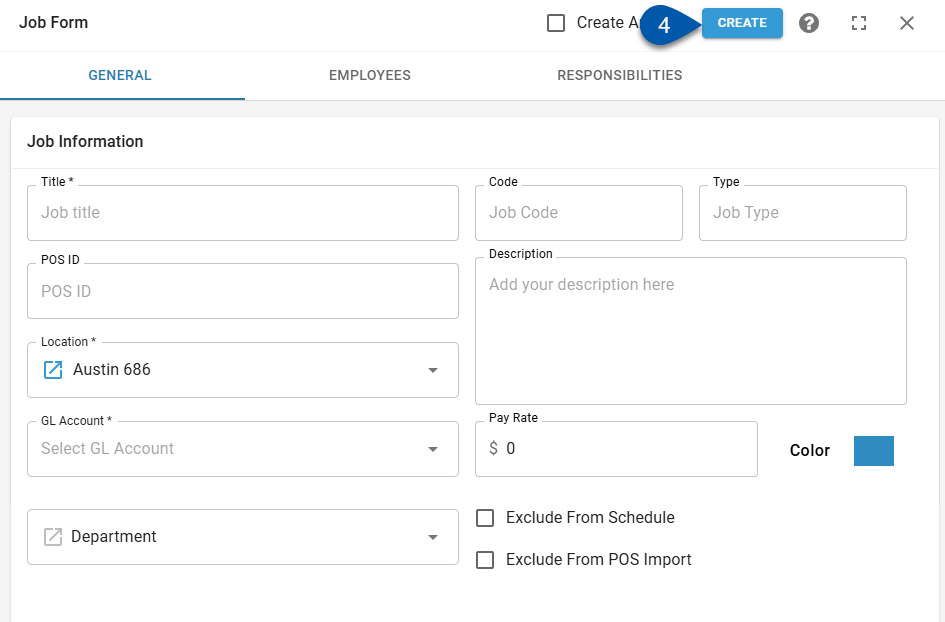
3) Enter job details.
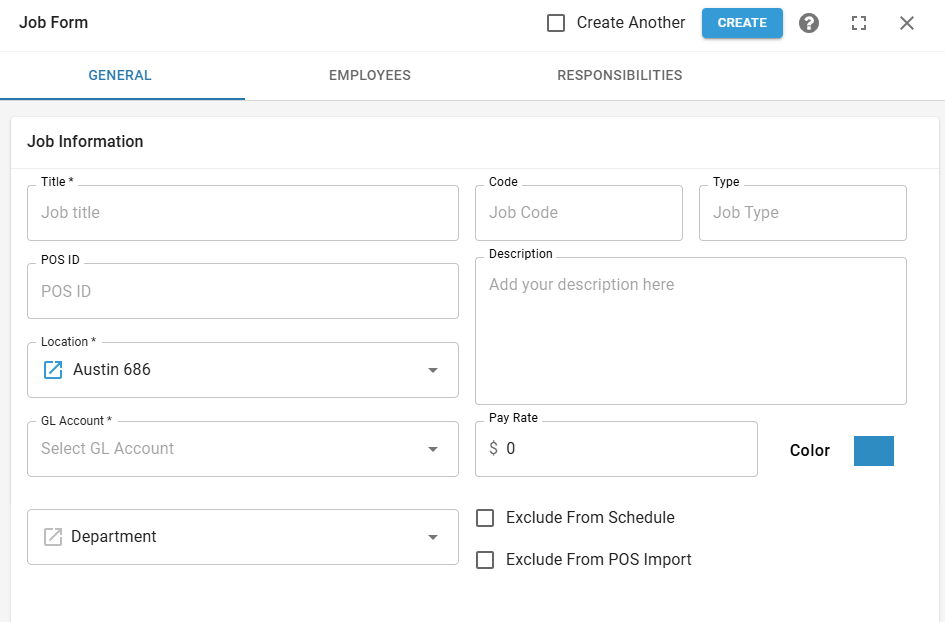
4) Click Create on the job record.
5) Click Save on the Workday Integration Mapping page.
When manually creating jobs, the job record is only created when Save is clicked.

Create Job - Dropdown
Follow these steps to create a new job from the Link Job dropdown menu:
Click steps to expand for additional information and images.
1) Open the Jobs tab of the Workday Integration Mapping page.
2) Confirm that jobs from Workday are displayed. If not, click ‘R365’ in the upper right corner to switch the view.
3) Select the desired location from the Location dropdown menu.
Only mapped locations are listed.
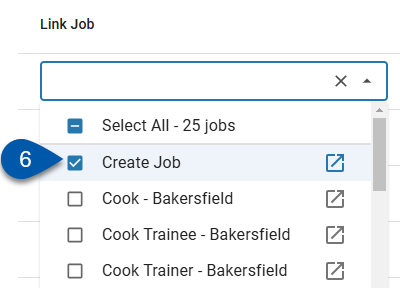
4) Open the Link Job dropdown menu for the desired Workday job.
5) Select Create Job from the list of jobs.

6) Click Save on the Workday Integration Mapping page.
When manually creating jobs, the job record is only created when Save is clicked.

Create Job - Bulk Create
Follow these steps to create job records for multiple Workday jobs:
Click steps to expand for additional information and images.
1) Open the Jobs tab of the Workday Integration Mapping page.
2) Confirm that jobs from Workday are displayed. If not, click ‘R365’ in the upper right corner to switch the view.
3) Select the desired location from the Location dropdown menu.
Only mapped locations are listed.
4) Check the bulk select box for desired jobs.
5) Click Edit Job Links in the bottom right corner of the page.
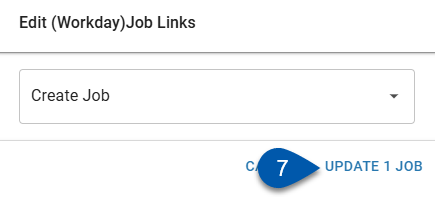
6) Select Create Job from the list of jobs.
7) Click Update ___ Job(s).
8) Click Save on the Workday Integration Mapping page.
When manually creating jobs, the job record is only created when Save is clicked.