This article is part of donation logs and covers entering a donation log in the R365 App.
From the R365 Red App, users can complete the lifespan of a donation log from creation to approval. This allows users to also view and edit their donation logs created in web from their mobile device. To read more about the web version of donation logs, click here.
Entering a Donation
To create a donation, users need the following permissions:
Food → Donations → Edit Donations
Food → Donations → Create Donations
New Donation Logs
To create a new donation log entry, follow these steps.
Click steps to expand for additional information and images.
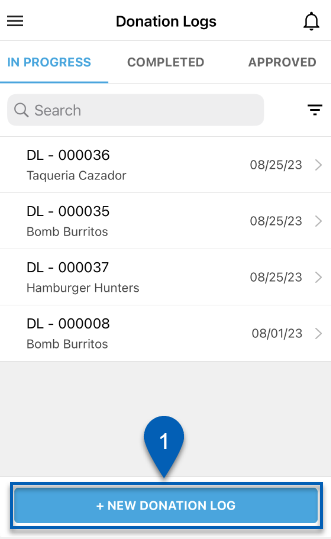
1) Tap the New Donation Log button at the bottom of the Donation Logs screen.
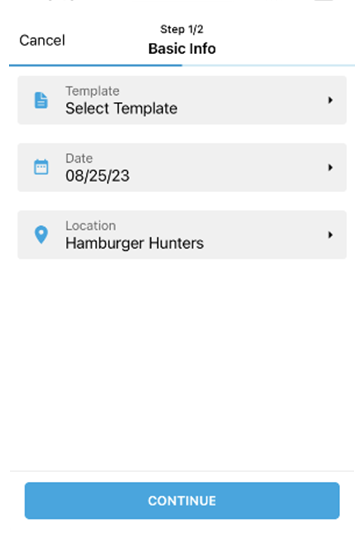
2) Complete the fields on Step 1/2.
This includes selecting a template, date, and location. The templates available will be determined by the location selection.
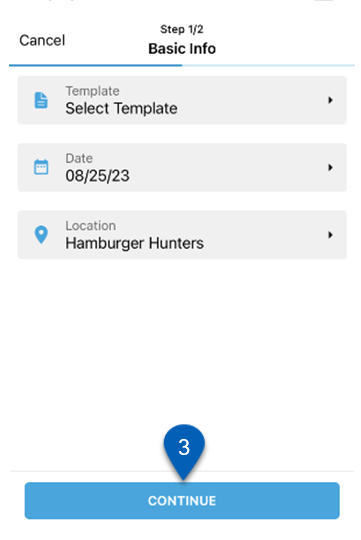
3) Click Continue to open Step 2/2 Add Items.
4) If a template was used, the Step 2/2 Add Items screen will display a list of items. If no template was used, there will be no list. Tap the Add Item button to add more items.
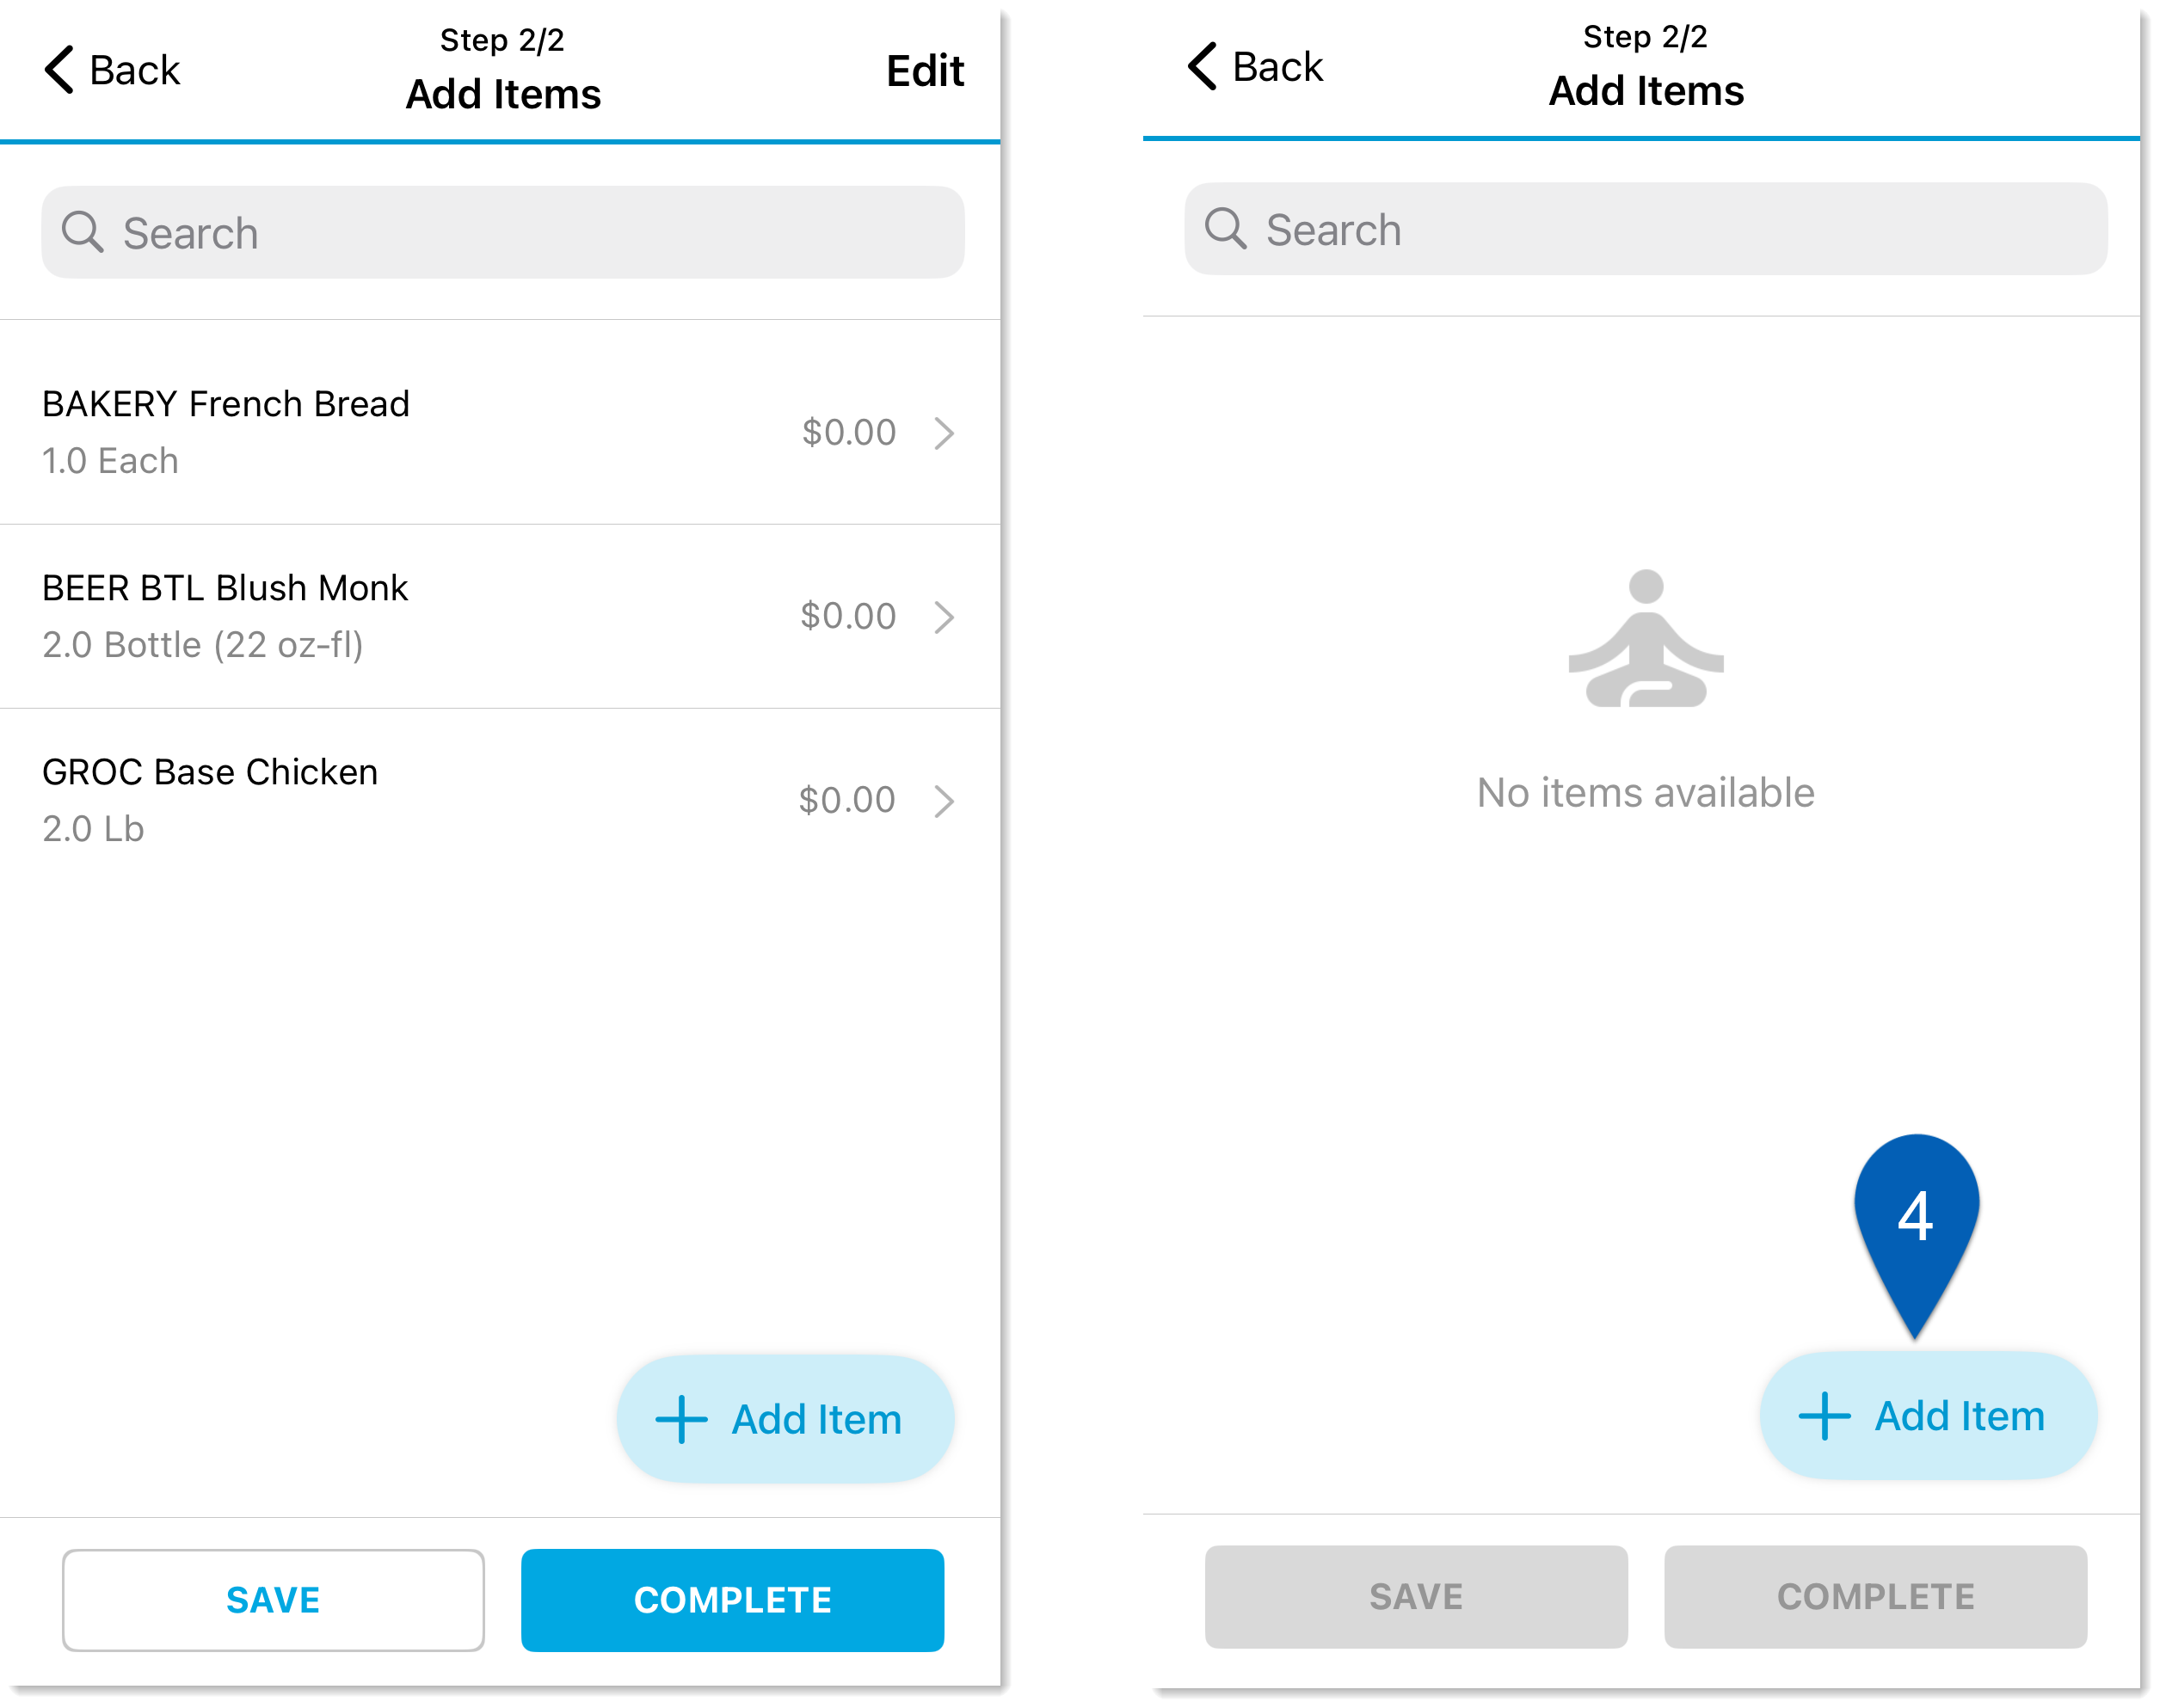
5) Complete the fields on the Add Item form. If no items need to be added, skip to step #6.
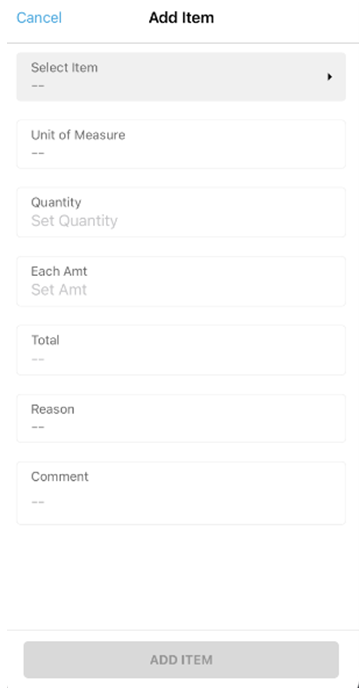
Once the add item form is completed, the Add Item button will be enabled. Users can tap add item to add the item to the donation log .
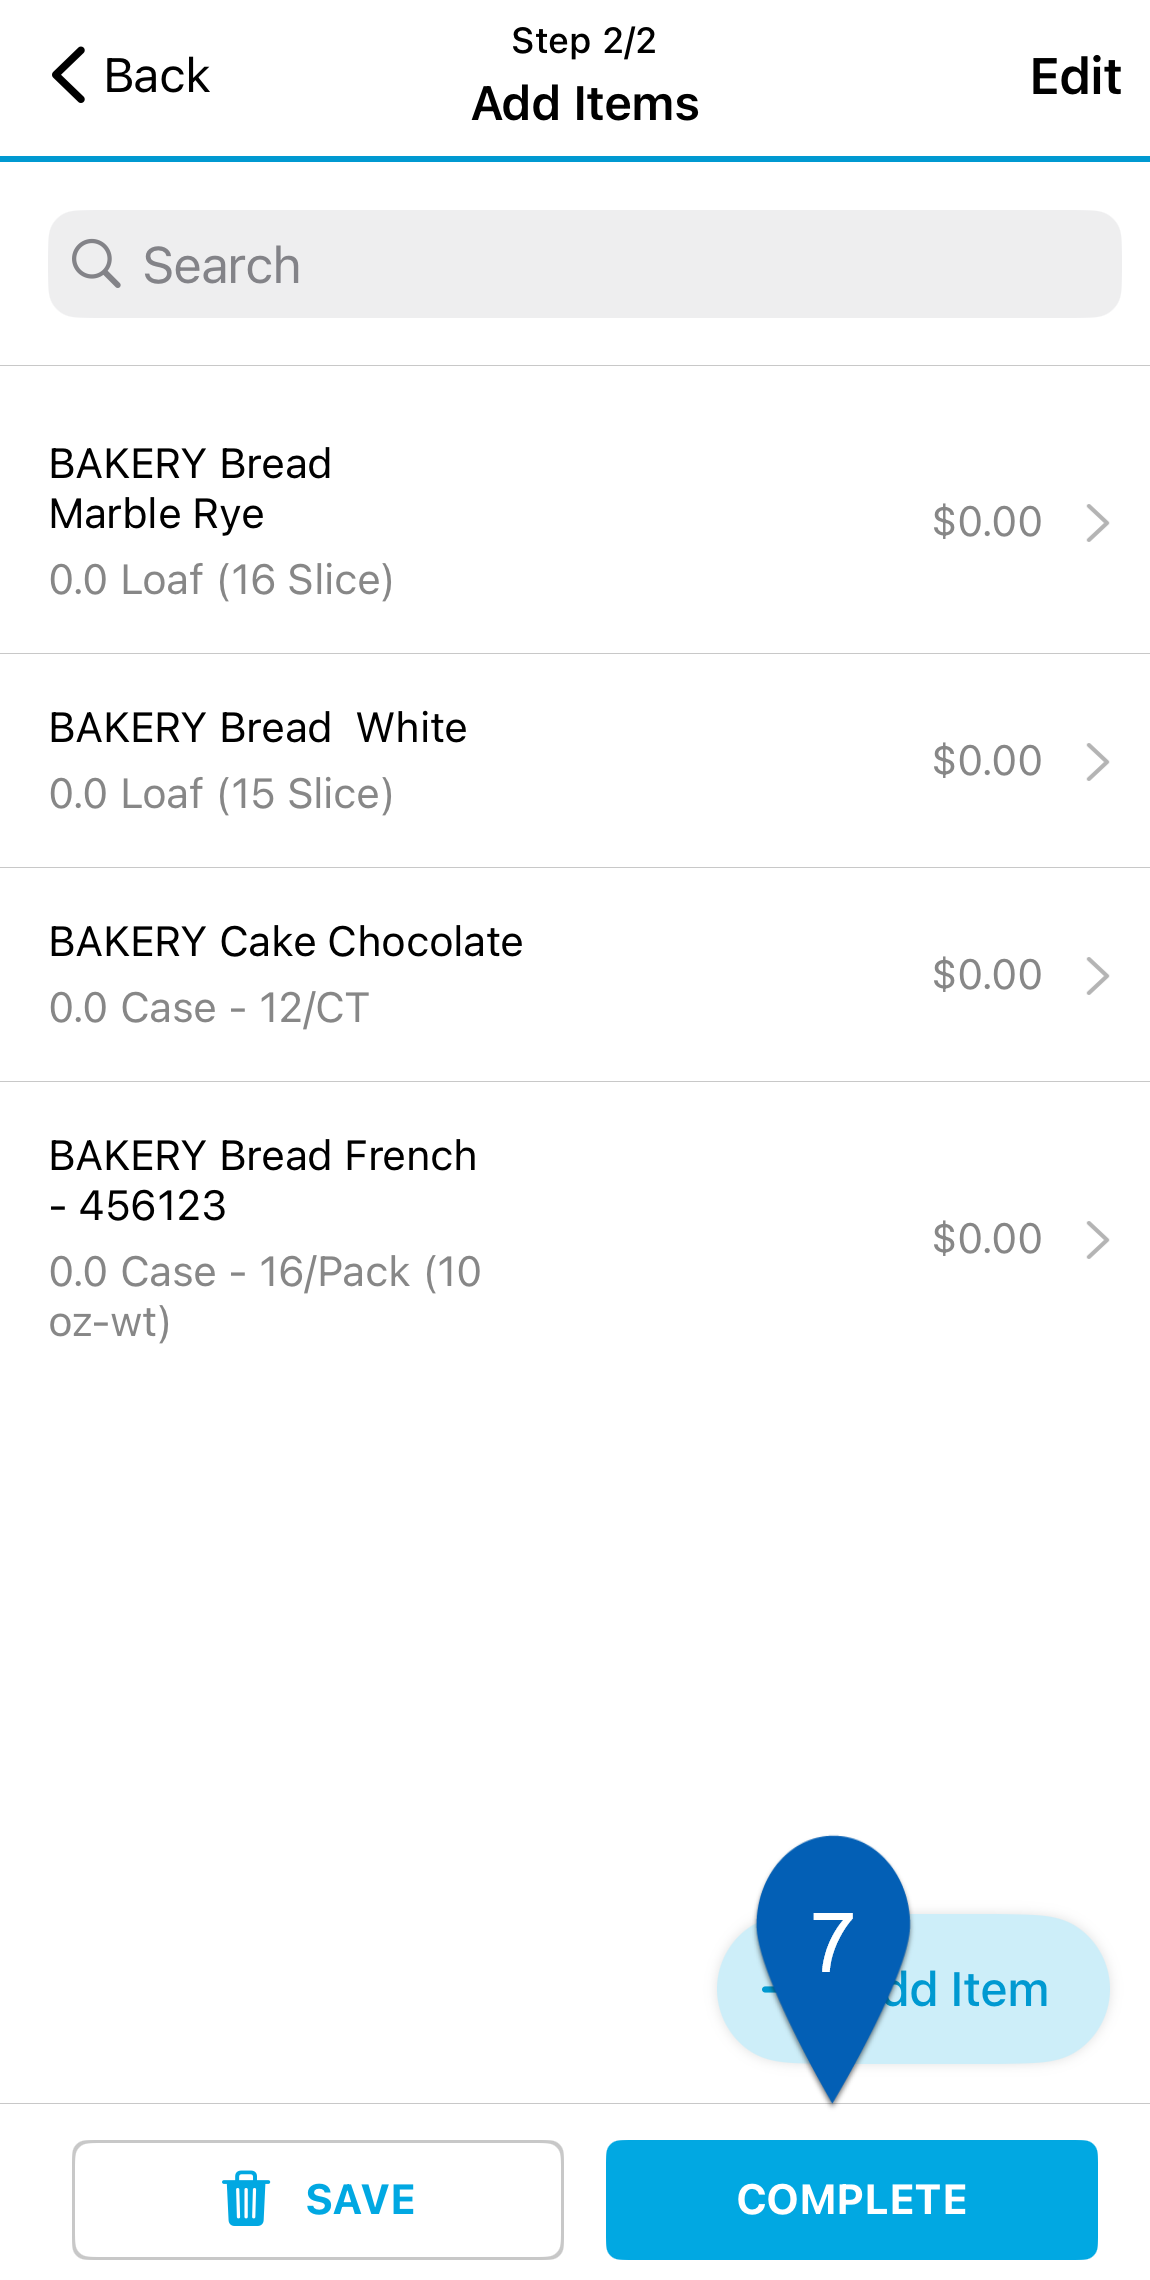
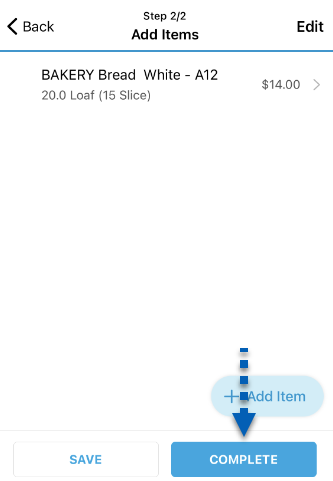
6) Review and update the items on the list if needed. For items added via template, tap to open an item and edit the item quantity.

7) Tap Complete to indicate that the donation log is complete and waiting for approval.
Tap Save to save the log. This will keep it with a status of ‘in progress.’
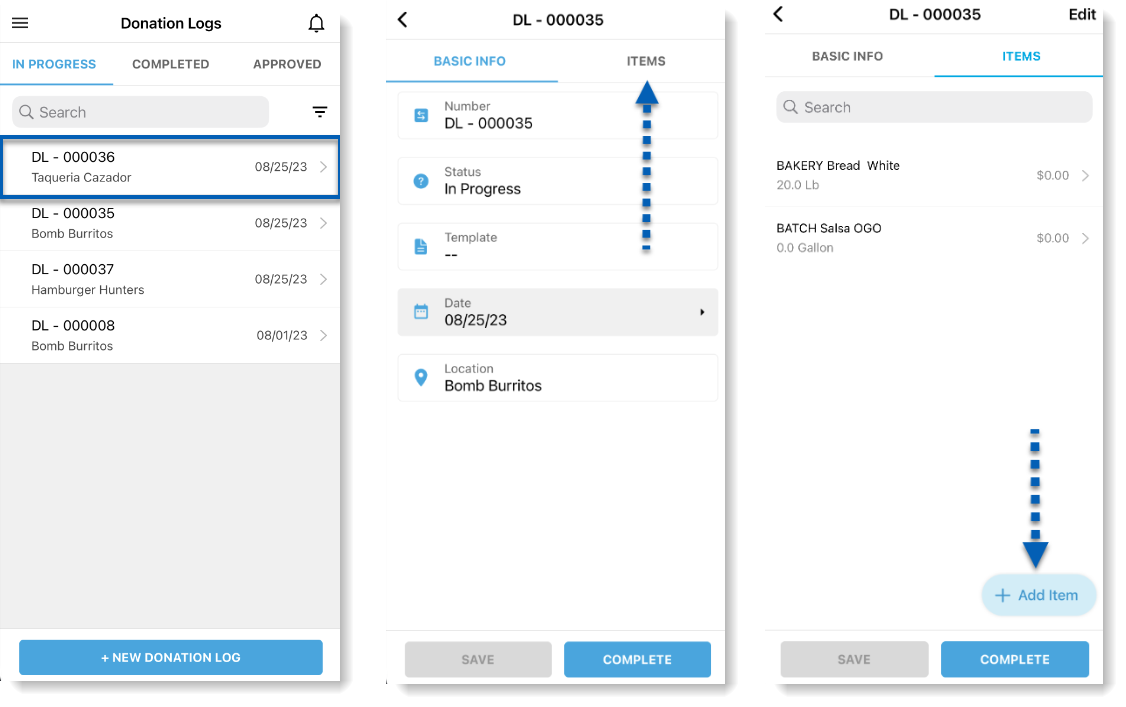
Existing Donation Logs
Donation logs with a status of in progress can be edited if needed. To edit an existing donation log, navigate to the in progress donations list and tap the desired donation log. This will open the donation log. From the items tab, tap +Add Item button. Edit the add item form as needed.
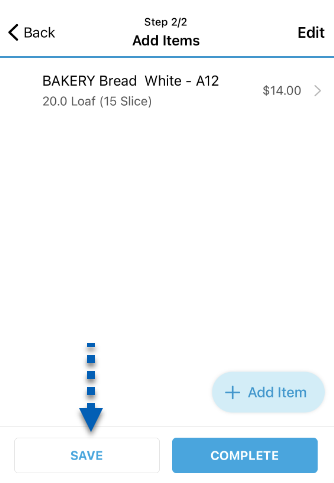
The donation log should then be saved or completed.
Saving a Donation
Logs that have not been marked as complete can be saved in their current state. This will save the progress of the donation log while keeping the log ‘In Progress.’
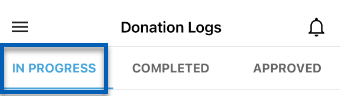
When a donation log is saved, the donation log will remain with a status of in progress. Users can return to these donation logs to edit or add items at a later time from the In Progress tab.
Completing a Donation
Donations must be marked as complete in order to be submitted for approval. To mark donations as complete, users must have the following permission:
Food → Donations → Complete Donations
Once all the necessary Items have been added to the donation log, users can tap Complete from the Add Items screen.
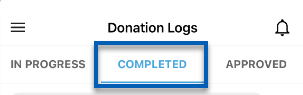
When a donation log is marked as complete, the entry will move to the Completed list.
Unlocking a Donation Log
Donation logs that have been marked as completed cannot be edited. However, Donation Logs can be returned to an editable form by unlocking the log. To unlock donation logs, Users must have the following permission:
Food → Donations → Unlock Donations
To unlock a donation log, find the correct entry from the 'Completed' list and tap the entry to open it. From the open entry, tap Unlock.
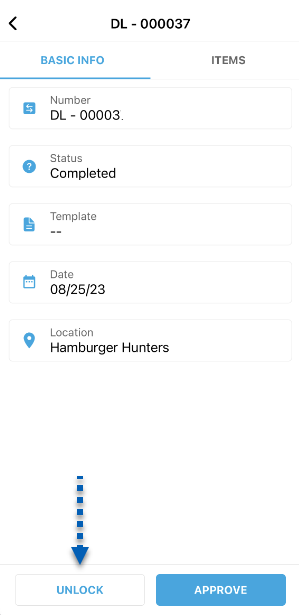
The donation log will return to a status of 'In Progress' and can be edited as necessary.
Approving a Donation
Once a donation has been marked as completed, the Donation Log entry needs to be approved before the correct accounts can be debited. To approve donations, users must have the following permission:
Food → Donations → Approve Donations
To approve a donation log, navigate to the correct donation log entry on the 'Completed' donation log list and tap the correct entry to open it. When the Approve button is tapped, users will be prompted to confirm the approval. Tap 'Approve' from the confirmation box to continue.
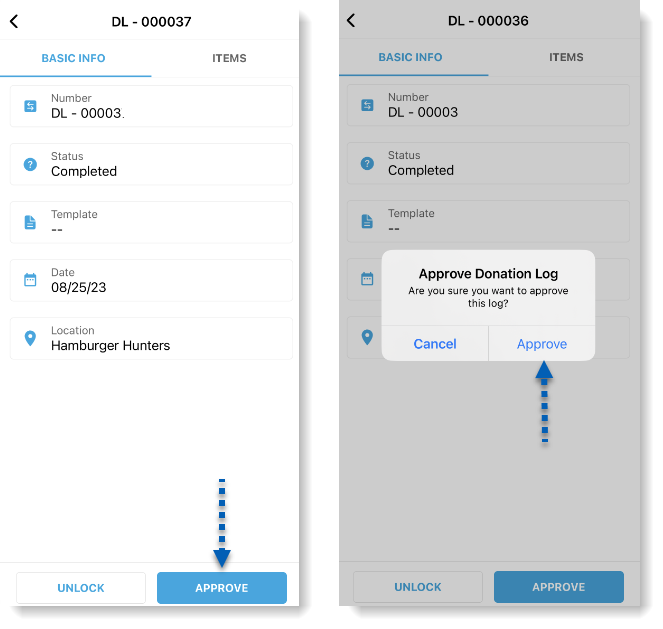
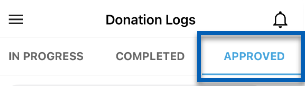
Users will be notified that the donation log has been approved, and the entry will be moved to the Approved donations list.
Unapproving a Donation Log
If a donation log was approved in error or the approval needs to be reversed for any reason, the donation log can be unapproved. To unapprove a donation log, users must have the following permission:
Food → Donations → Unapprove Donations
To unapprove a donation, locate the correct donation log entry from the approved donation list and tap it to open the log.
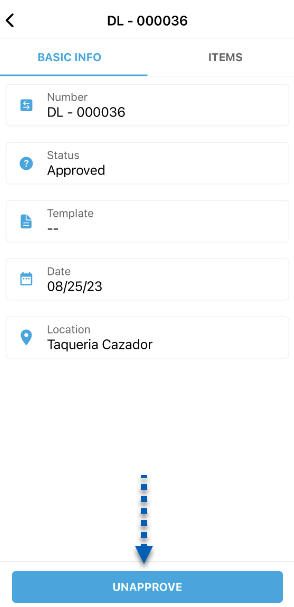
When unapproved, the donation log entry will return to the Completed donations list.
Barcode Scanning for Donation Logs
Users can utilize barcode scanning to scan items onto new donation logs. To read more about using barcode scanning for donation logs, click here.