Checklists can be used for daily tasks that need to be completed.
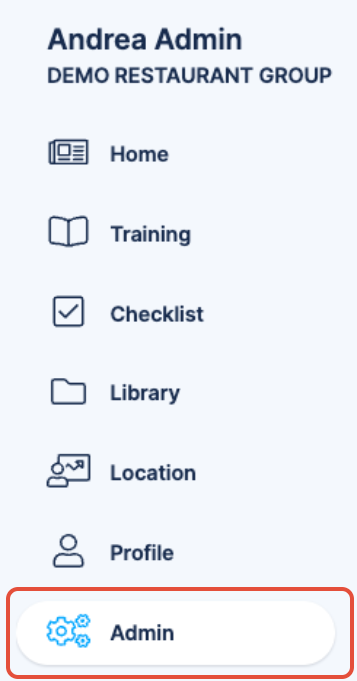
To build a checklist start by going to the Admin tab.
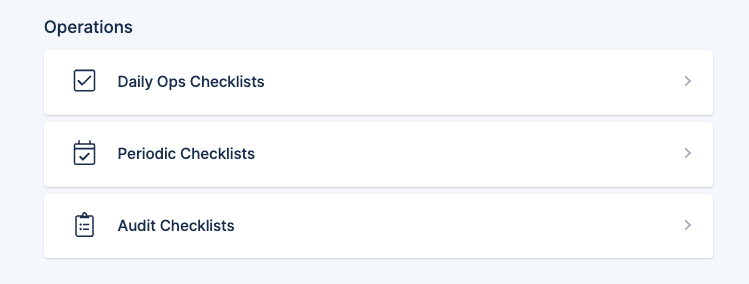
Next, at the bottom of the screen, you can select either Daily Ops, Periodic, or Audit Checklists.
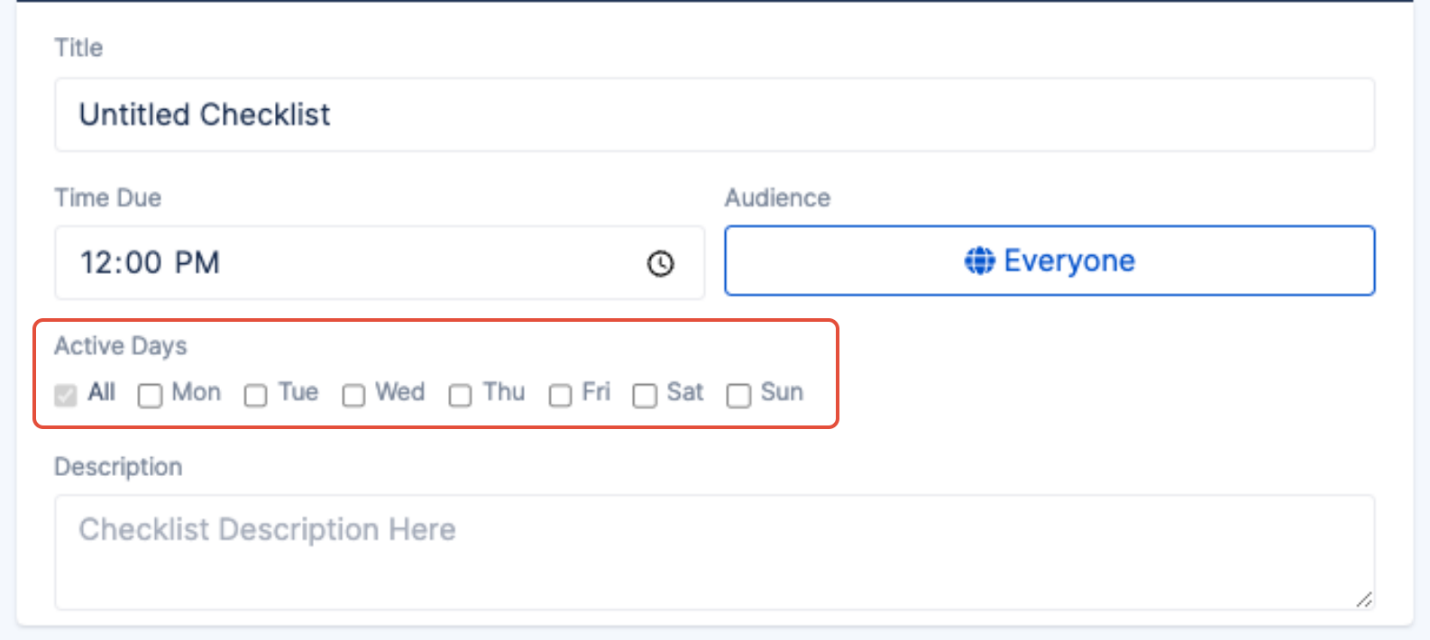
You'll need to give it a title and a time due each day. For Daily Ops Checklists specifically, you can select which days of the week the checklist is assigned to its locations. By default, this is set to all days of the week.
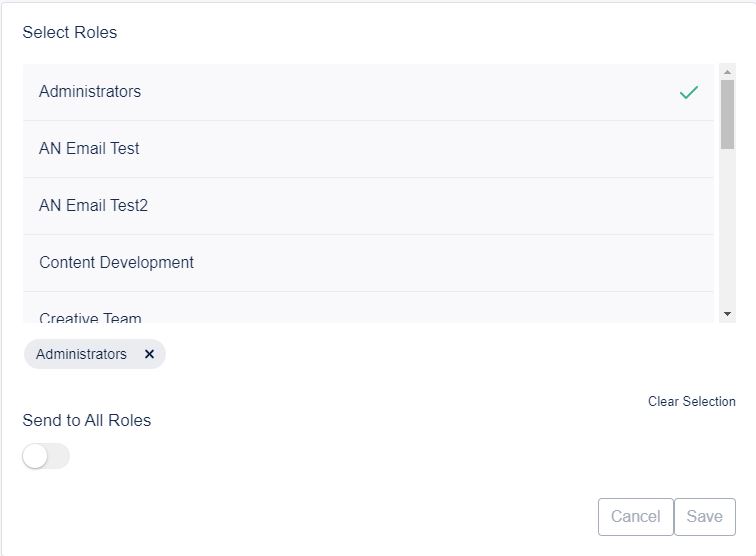
You can also dictate which Locations and Roles this checklist will be visible to by clicking on Audience. You will first select which locations it is visible to, then you will be asked which roles can complete the checklist.
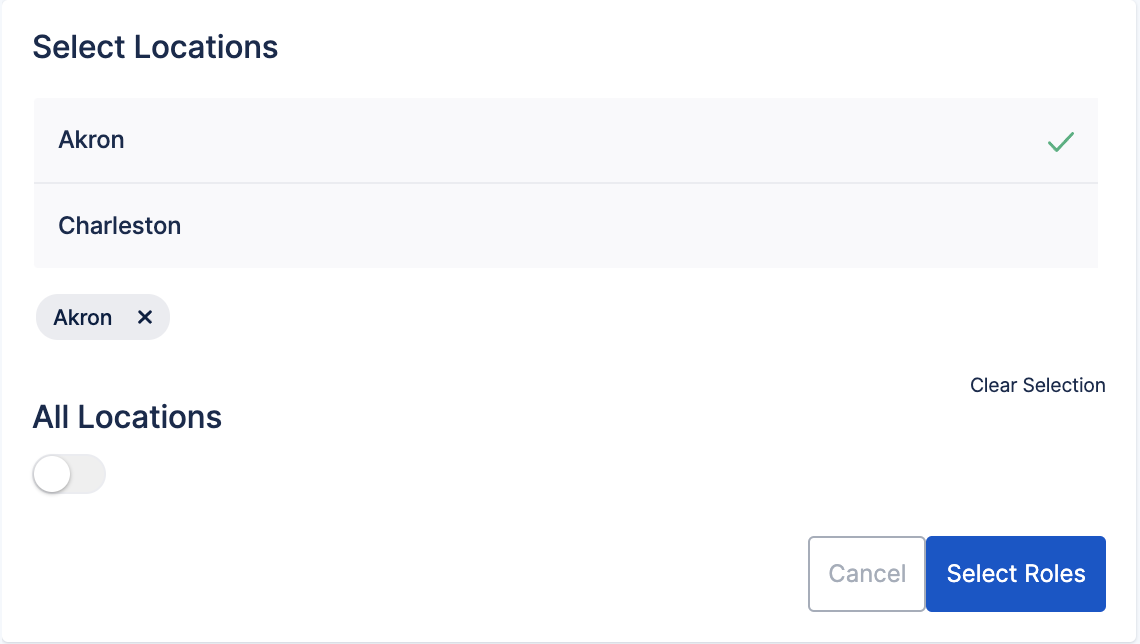
This example shows only a single location will be assigned the checklist.
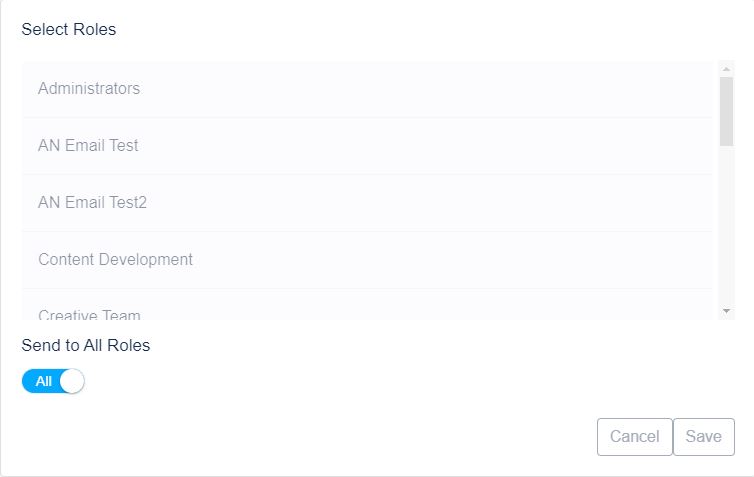
This example shows that Send to all roles is selected
Now you're adding items to the checklist. Each one will have a Step Title, and a field type(Yes/No, Checkbox, Short Text, Long Text, Temperature).
There is also an optional description for each step.
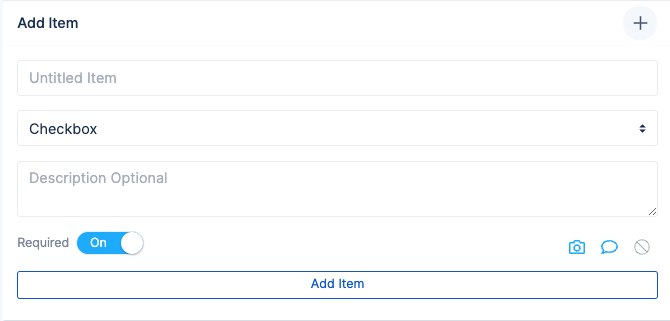
You can also select if a step is required, allows photos and notes, or show n/a if it's possible a step may be not applicable for some uses of the checklist item. (N/A eligible items, marked as N/A when completing the checklist, will not mark against a checklist's completion report. They will show as N/A in the report)
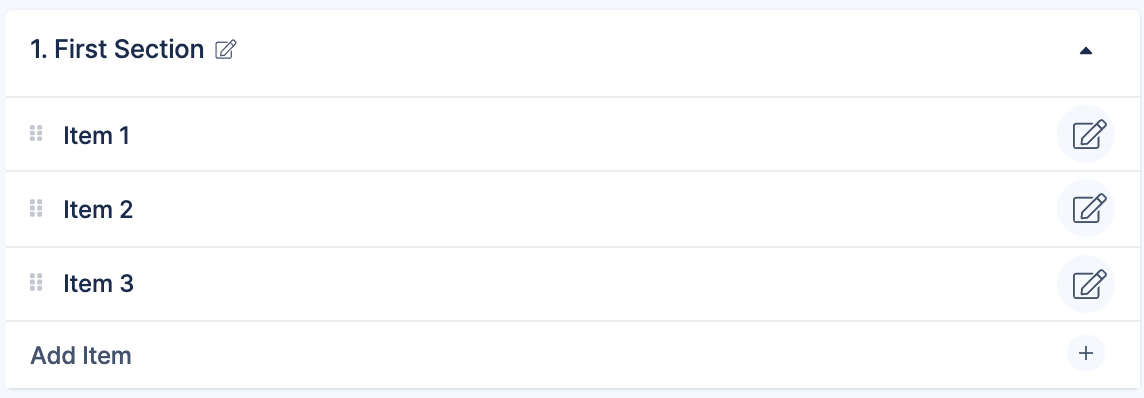
If you like, you can click Add Section at the bottom to divide the tasks into sections.
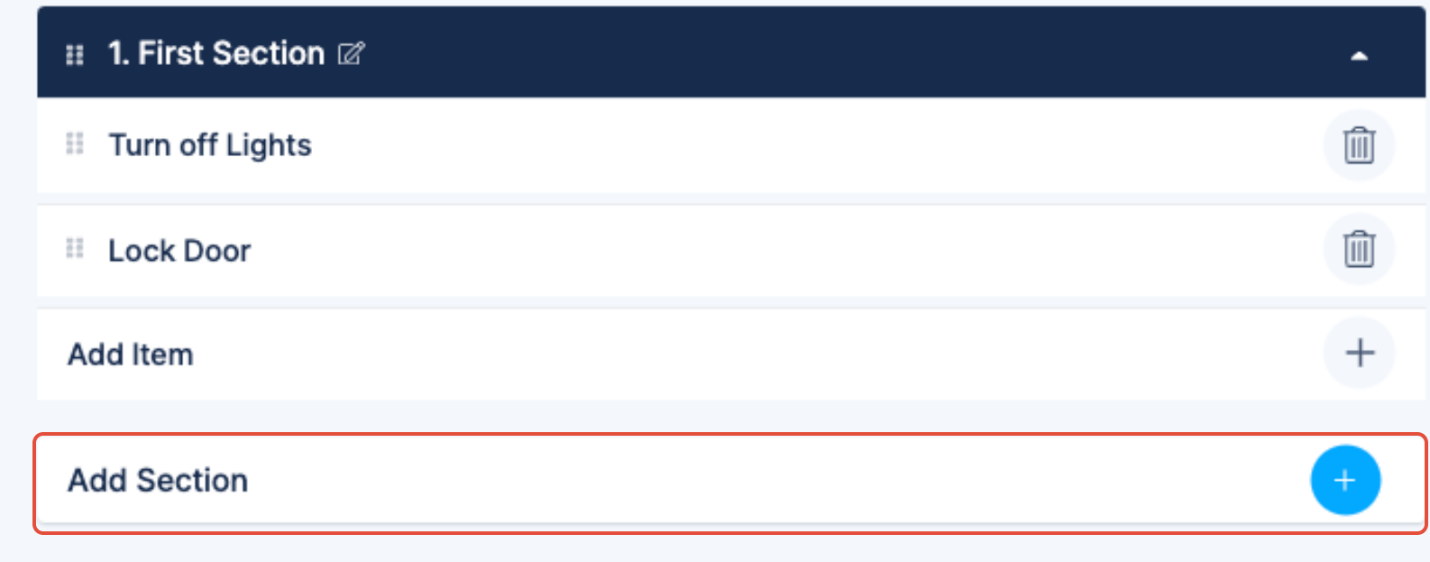
If you click the 6 dots to the left of any item or section, it can be dragged around to change the order.
Be sure to hit either Save and Exit or Save and Publish at the top right.
Checklists can exist in either a Published or Draft state. A checklist must be published to be assigned to their locations and roles. If you edit a published checklist, you can either Save and Exit (leaving it in a draft state, with the previously published state still actively assigned), or Save and Publish (making the previous checklist an updated version replacing the old version). Published Checklists do not have a published tag next to them, but draft state checklists do.
