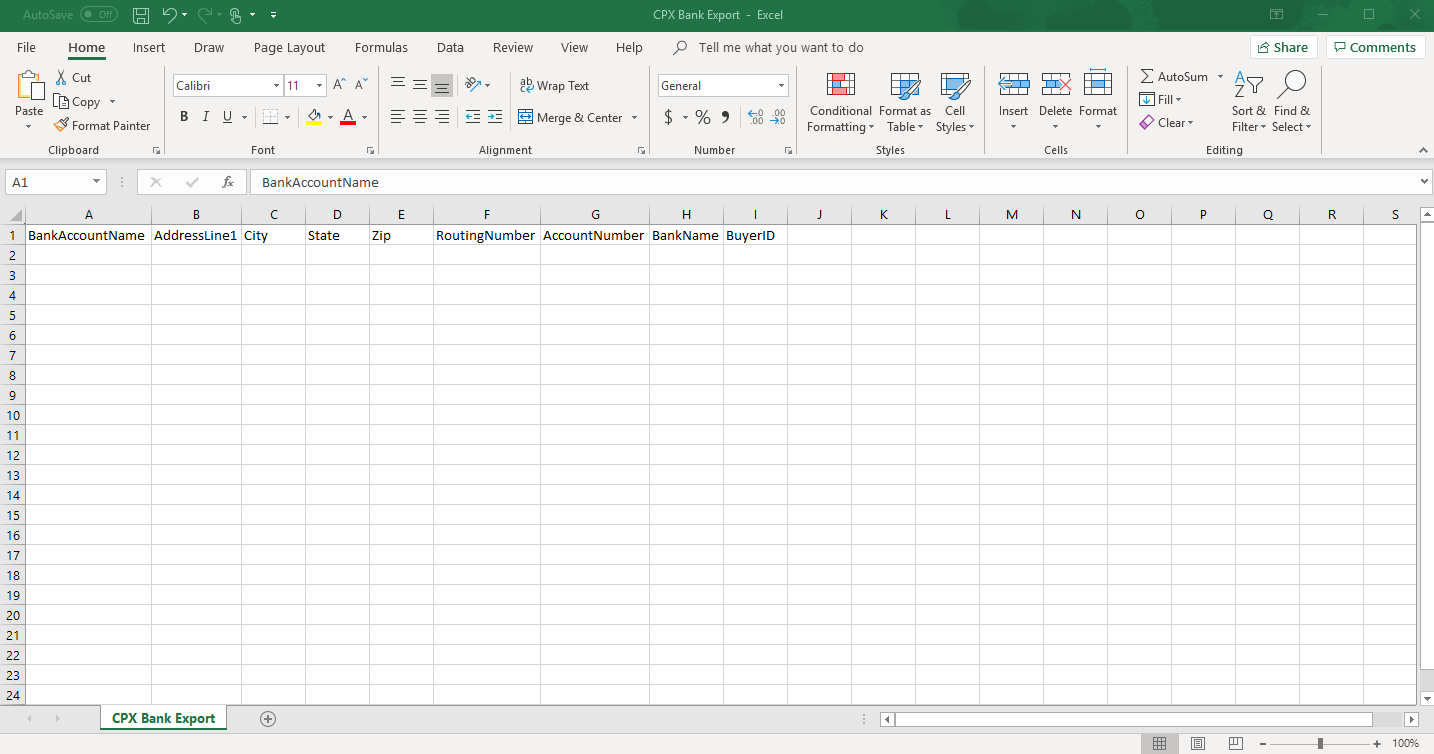
The CPX Bank Export displays the Bank Account information used for R365 Payments. This is beneficial for User records as well as adding new bank information for R365 Payments.
Navigation
To navigate to the CPX Bank Export, click 'My Reports' under 'Reports' in the left pane and select 'Banking' in the top header of the reporting window. Once opened, a listing of reports will be shown.
Find 'CPX Bank Export' and select 'Customize' next to the report. Because there are no Report Parameters, a User can either click 'CSV' or 'Customize' and then 'Download' in the next window to create an exported file.
Report Parameters

This report does not have any available parameters because it is already set in the system to download in the desired format. Therefore, a User can either click the 'CSV' button next to the report name or click 'Customize' and then 'Download' in the next window to create an exported file.
Click here to learn more about Report Views and their added functionality.
Report Details

Bank Account Name - The name used for the bank account
Address Line 1 - The street address of the Bank location
City - The city of the Bank location
State - The state of the Bank location
Zip - The zip code of the Bank location
Routing Number - The bank account routing number
Account Number - The bank account number
Bank Name - The name of the Bank
Buyer ID - The Buyer ID associated with this bank in the Bank Account Record. This will be assigned by the User's Accounting Coach, so if this is a new added bank, leave this column empty